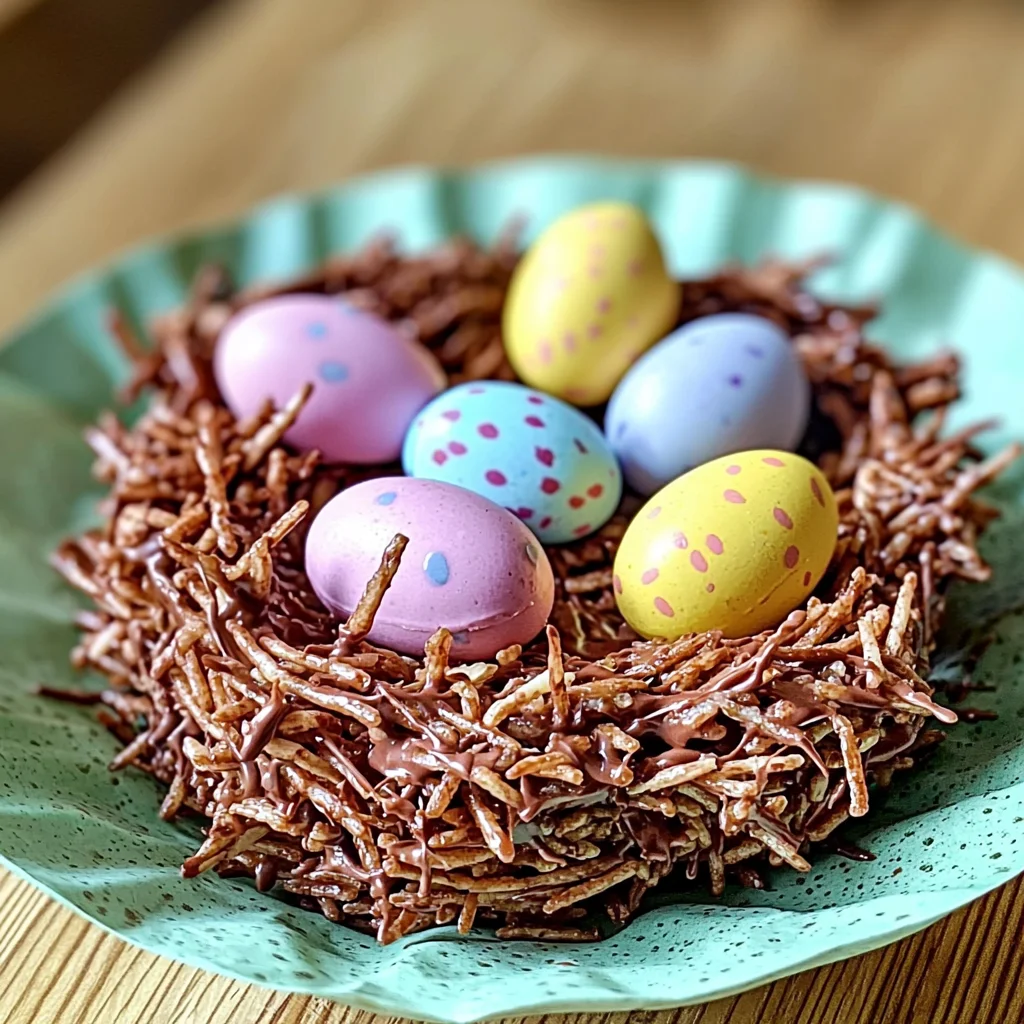
If you’re looking for a delightful treat that brings the joy of spring right into your kitchen, then you’ve stumbled upon the perfect recipe: Chocolate Easter Nests! These charming little confections are not just delicious; they’re also a wonderful way to get creative with your loved ones. Imagine gathering around the table with your family or friends, shaping these nests together and filling them with colorful candies—what a fun way to celebrate Easter or simply welcome the season!
What makes Chocolate Easter Nests so special is their whimsical shape and the rich, satisfying combination of chocolate and crispy cereal. They’re quick to make, meaning you can whip them up even on busy weeknights or for last-minute gatherings. Whether it’s for an egg hunt, a family dessert, or just because you want something sweet to enjoy, these nests will surely bring smiles all around.
Why You’ll Love This Recipe
- Quick and Easy: This recipe takes just 10 minutes to prepare! You can have these tasty treats ready in no time.
- Family-Friendly Fun: Making these nests is a delightful activity for kids and adults alike—everyone can join in on the fun!
- Customizable Treats: You can easily swap out ingredients to suit your taste preferences—try different chocolates or fillings!
- Perfectly Portable: These nests are great for sharing at gatherings or bringing along to picnics.
- Festive Appeal: Their charming look makes them ideal for spring celebrations like Easter.
Ingredients You’ll Need
The beauty of Chocolate Easter Nests lies in their simplicity! You’ll only need a handful of wholesome ingredients that come together to create these delightful treats. Here’s what you’ll need:
- 1 cup semi-sweet or milk chocolate chips
- 2 tablespoons butter
- 1 cup crispy rice cereal
- 1/4 cup shredded coconut (optional)
- Mini eggs or candy-coated chocolates for filling
Variations
One of the best parts about Chocolate Easter Nests is how flexible this recipe is! Feel free to experiment and make these nests uniquely yours with any of these ideas:
- Swap the chocolate: Use dark chocolate or white chocolate instead of milk chocolate for a different flavor profile.
- Add some crunch: Incorporate chopped nuts or seeds into the mixture for added texture and nutrition.
- Go nutty: Mix in some peanut butter with the melted chocolate for a deliciously nutty twist!
- Seasonal switch: Change up the candies based on holidays—use seasonal candy corn in the fall or red and green candies during Christmas!
How to Make Chocolate Easter Nests
Step 1: Melt the Chocolate
Start by melting the chocolate chips and butter together in a microwave-safe bowl. Heat it in 30-second intervals, stirring well after each interval until smooth. This step is crucial, as gently melting ensures that your chocolate doesn’t seize up.
Step 2: Combine with Cereal
Once your chocolate mixture is silky smooth, remove it from the microwave and gently fold in the crispy rice cereal and optional shredded coconut. This is where we create that delightful nest texture! Make sure everything is well coated so every bite is packed with flavor.
Step 3: Shape Your Nests
Scoop small amounts of the mixture onto parchment paper, shaping them into nests with an indentation in the center. This step allows you to form those cute little nests that will hold your candies later. Don’t worry about making them perfect—each one will have its own unique charm!
Step 4: Add Your Fillings
While still warm, press mini eggs or your favorite candies into each nest. This is where you can let your creativity shine! Choose vibrant colors that pop against the chocolate base.
Step 5: Chill and Serve
Finally, refrigerate your nests for about 30 minutes until they set completely. Once firm, they’re ready to be enjoyed! Serve them at gatherings, share them with friends, or keep them all to yourself—no judgment here!
Enjoy creating these delicious Chocolate Easter Nests!
Pro Tips for Making Chocolate Easter Nests
Creating the perfect Chocolate Easter Nests is a breeze with these helpful tips!
- Use quality chocolate: Opt for high-quality chocolate chips for a richer flavor and smoother melting experience, ensuring your nests taste delicious.
- Don’t overmix: Gently folding in the cereal helps maintain its crispiness. Overmixing can lead to soggy nests that lack texture.
- Chill properly: Allow the nests to set in the refrigerator until firm. This will help them hold their shape and make them easier to serve and enjoy.
- Experiment with fillings: Try different candies or even dried fruits inside your nests for a unique twist. This adds variety and makes each bite exciting!
- Involve the kids: Encourage little hands to help shape the nests and add fillings. This not only makes it fun but creates lasting memories together.
How to Serve Chocolate Easter Nests
Presenting your Chocolate Easter Nests can turn them into an eye-catching centerpiece at your gathering! Here are some delightful ideas.
Garnishes
- Fresh mint leaves: A few sprigs of fresh mint add a pop of color and a refreshing flavor that complements the chocolate.
- Edible flowers: Sprinkling edible flowers around the nests gives a beautiful spring touch, making your presentation extra special.
Side Dishes
- Fruit salad: A colorful mix of seasonal fruits adds freshness and balances the sweetness of the nests, making it a perfect pairing.
- Vanilla ice cream: Serve alongside creamy vanilla ice cream for a delightful contrast in temperatures and textures, enhancing the overall dessert experience.
- Chocolate-dipped strawberries: These luscious treats are not only delicious but also visually appealing, creating an indulgent dessert spread.
- Mini cupcakes: Offer small, fluffy cupcakes as an additional sweet option, allowing guests to mix and match their treats for a fun dessert table.
Make Ahead and Storage
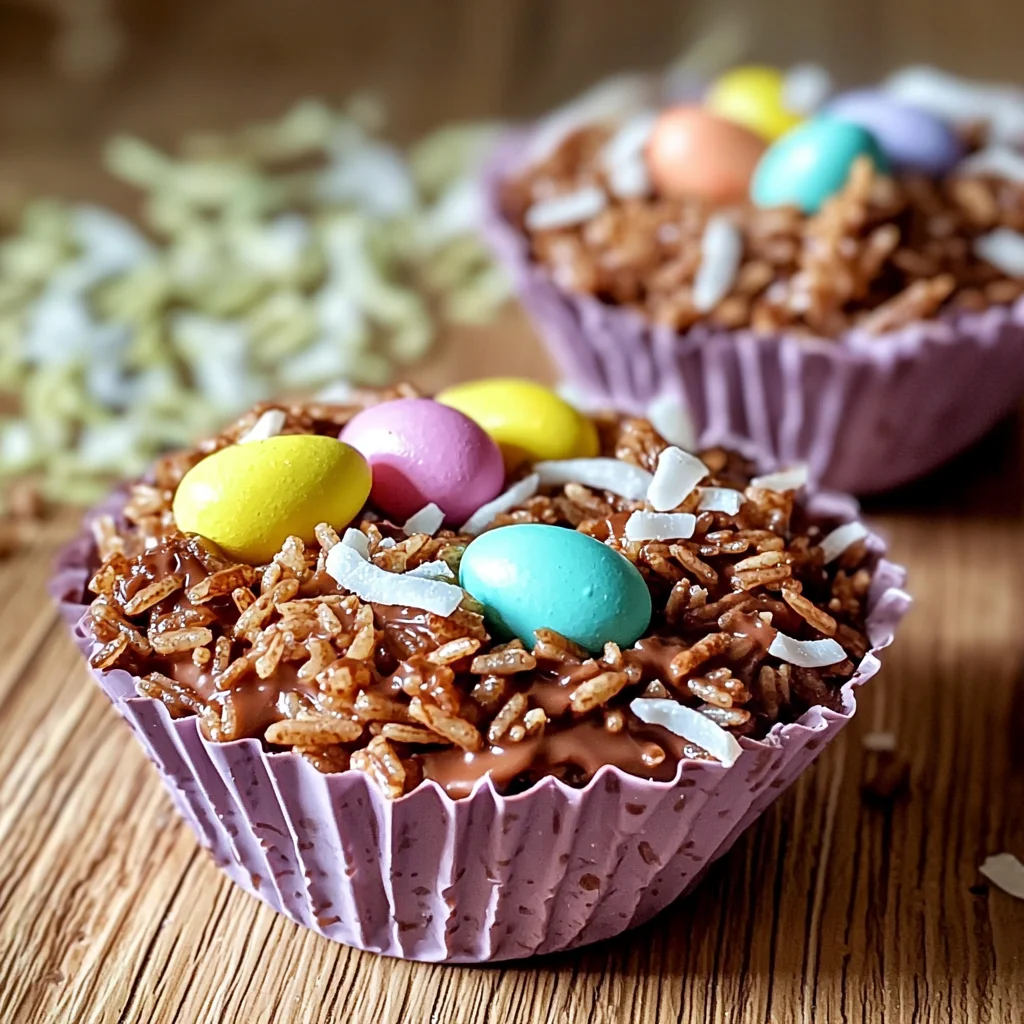
These Chocolate Easter Nests are fantastic for meal prep, allowing you to whip up a batch ahead of time for festive gatherings or just to satisfy your sweet tooth throughout the week.
Storing Leftovers
- Store in an airtight container at room temperature.
- They will stay fresh for up to one week.
- Keep away from direct sunlight and heat sources.
Freezing
- Place the nests in a single layer on a baking sheet and freeze until solid.
- Transfer them to a freezer-safe container or bag, separating layers with parchment paper.
- They can be frozen for up to three months.
Reheating
- These treats are best enjoyed as is and do not require reheating.
- If desired, let them sit at room temperature for a few minutes before serving.
FAQs
Can I use different types of chocolate for Chocolate Easter Nests?
Absolutely! You can customize your Chocolate Easter Nests by using dark, white, or even flavored chocolate. Each variation will give you a unique taste!
How long do Chocolate Easter Nests last?
When stored properly in an airtight container at room temperature, Chocolate Easter Nests can last up to one week. They’re perfect for enjoying throughout the festive season!
Can I add other ingredients to my Chocolate Easter Nests?
Yes! Feel free to get creative by adding nuts, dried fruits, or different candies. This allows you to make each batch of Chocolate Easter Nests uniquely yours!
Are there any alternatives to crispy rice cereal?
Certainly! You can substitute crispy rice cereal with cornflakes or granola for a different texture while still keeping the delicious flavor.
Final Thoughts
Chocolate Easter Nests are not only simple to make but also bring joy and creativity into your kitchen. I hope you have fun crafting these delightful treats and that they add sweetness to your celebrations. Enjoy making memories with family and friends as you indulge in these charming little nests!
Chocolate Easter Nests

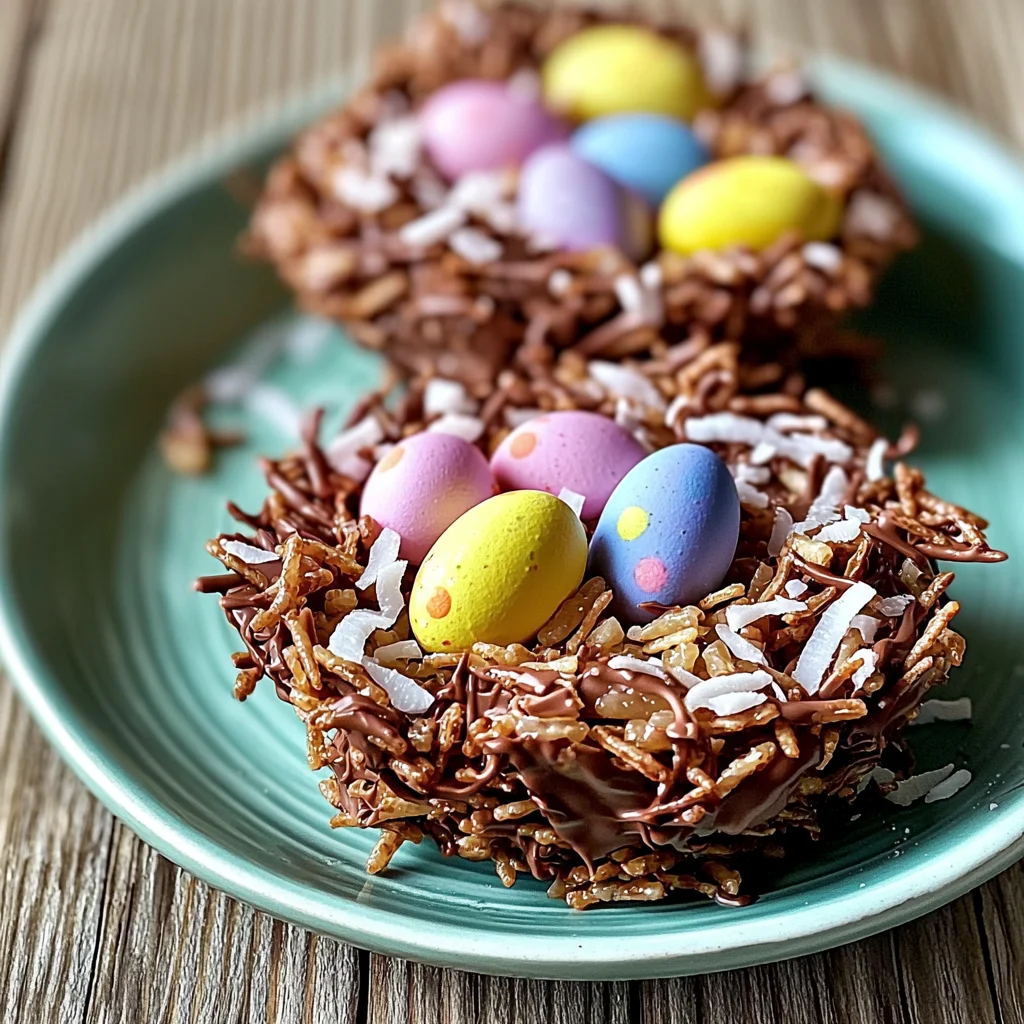
Indulge in the delightful world of Chocolate Easter Nests, a charming spring treat that combines rich chocolate with crispy cereal to create whimsical, nest-like confections. Perfect for gatherings or family fun, these easy-to-make treats will bring smiles and creativity into your kitchen. Gather your loved ones and let everyone shape their nests, filling them with colorful candies for a festive celebration. With just a handful of ingredients and minimal preparation time, you can whip up these delectable nests in no time—ideal for Easter festivities or simply to enjoy during the spring season.
- Prep Time: 10 minutes
- Cook Time: 0 minutes
- Total Time: 10 minutes
- Yield: Approximately 12 nests 1x
- Category: Dessert
- Method: No-bake
- Cuisine: American
Ingredients
- 1 cup semi-sweet or milk chocolate chips
- 2 tablespoons butter
- 1 cup crispy rice cereal
- 1/4 cup shredded coconut (optional)
- Mini eggs or candy-coated chocolates for filling
Instructions
- Melt the chocolate chips and butter together in a microwave-safe bowl, heating in 30-second intervals until smooth.
- Once melted, fold in the crispy rice cereal and optional shredded coconut until well coated.
- Scoop small amounts onto parchment paper, shaping them into nests with an indentation in the center.
- Press mini eggs or favorite candies into each nest while still warm.
- Refrigerate for about 30 minutes until set, then enjoy!
Nutrition
- Serving Size: 1 serving
- Calories: 130
- Sugar: 10g
- Sodium: 20mg
- Fat: 6g
- Saturated Fat: 4g
- Unsaturated Fat: 2g
- Trans Fat: 0g
- Carbohydrates: 17g
- Fiber: 1g
- Protein: 2g
- Cholesterol: 0mg



Leave a Comment