If you’re looking for a delightful dish that’s as satisfying to make as it is to eat, you’ve come to the right place! This Crispy Tofu Katsu recipe is one of my all-time favorites. It brings together the perfect blend of crunchy textures and savory flavors, making it an ideal choice for busy weeknights or family gatherings. Trust me; everyone will love this plant-based delight, whether they’re seasoned tofu fans or just trying it for the first time!
The beauty of this Crispy Tofu Katsu is not only in its taste but also in its simplicity. With a handful of easy-to-find ingredients and just a few steps, you can whip up a meal that feels special without spending hours in the kitchen. Let’s dive into why this recipe will quickly become a go-to in your home!
Why You’ll Love This Recipe
- Quick and Easy: With just 20 minutes of prep time, this recipe fits perfectly into your busy schedule.
- Family-Friendly: The crispy coating and delicious flavor are guaranteed to please even the pickiest eaters!
- Healthy Option: Packed with plant-based protein, it’s a nutritious choice that everyone can enjoy.
- Versatile Dish: Serve it with rice and curry or dip it in your favorite sauce; the possibilities are endless!
- Make-Ahead Friendly: Prepare the tofu ahead of time for an easy meal later in the week.
Ingredients You’ll Need
You’ll be happy to know that this Crispy Tofu Katsu uses simple, wholesome ingredients that are easy to find in any grocery store. Gather these up, and we’ll get started on creating something truly delicious!
For the Tofu Katsu
- 9 oz extra firm tofu (pressed)
- 0.25 cup all purpose flour
- 0.25 cup milk
- 0.5 cup panko bread crumbs
- 1 pinch garlic powder
- salt (to taste)
- black pepper (to taste)
- oil (for frying)
Variations
One of the best things about this Crispy Tofu Katsu is how flexible it is! Feel free to get creative with these variations:
- Add Some Spice: Include some cayenne pepper or chili flakes for a little kick!
- Try Different Bread Crumbs: Use whole wheat panko or even crushed cornflakes for a unique twist on texture.
- Experiment with Dips: Serve with homemade teriyaki sauce or spicy mayo for added flavor.
- Swap the Protein: If you want to change things up, you can use tempeh or seitan instead of tofu.
How to Make Crispy Tofu Katsu
Step 1: Press the Tofu
Pressing the tofu is crucial because it removes excess moisture, allowing it to absorb flavors better and achieve that perfect crispy texture when fried. Lay your tofu blocks between paper towels and place something heavy on top for about 10-15 minutes.
Step 2: Slice and Season
Once your tofu is pressed, slice it into halves about 0.5 inches thick. This thickness ensures they cook evenly while still being hearty enough to hold their shape. Don’t forget to season both sides with salt and pepper—this adds flavor right from the start!
Step 3: Set Up Your Dipping Station
Creating a dipping station makes coating your tofu easy and fun! In three separate bowls, mix together flour with seasonings in one, milk with some added flour in another, and fill the last bowl with panko breadcrumbs. This setup ensures every piece gets coated perfectly.
Step 4: Coat Your Tofu
Dip each tofu square first into the flour mixture, then into the milk mixture, followed by a generous coating of panko breadcrumbs. This layering creates that irresistible crunch we all love!
Step 5: Heat Up Your Oil
Heat oil in a saucepan over medium-high heat until it’s hot enough for frying. You can check if it’s ready by adding a tiny pinch of flour; if it sizzles, you’re good to go! Properly heated oil ensures a golden brown crust.
Step 6: Fry Away!
Carefully lay your coated tofu pieces in the hot oil without crowding them—this helps them fry evenly. Cook each side until they turn golden brown; it usually takes just a few minutes per side.
Step 7: Drain Excess Oil
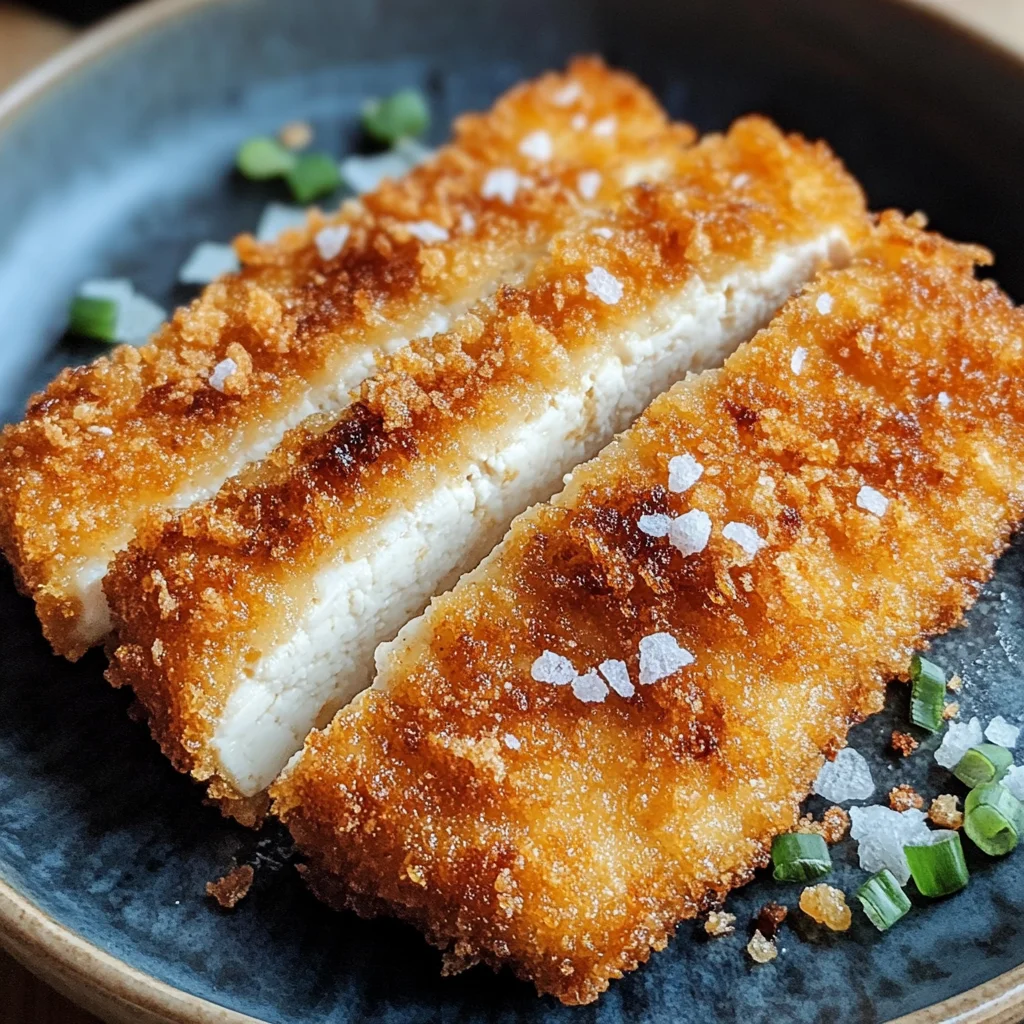
Once fried to perfection, place your crispy tofu katsu on paper towels or a wire rack to drain off any excess oil. Sprinkle some salt on top while they’re still hot so it sticks nicely.
Step 8: Serve and Enjoy!
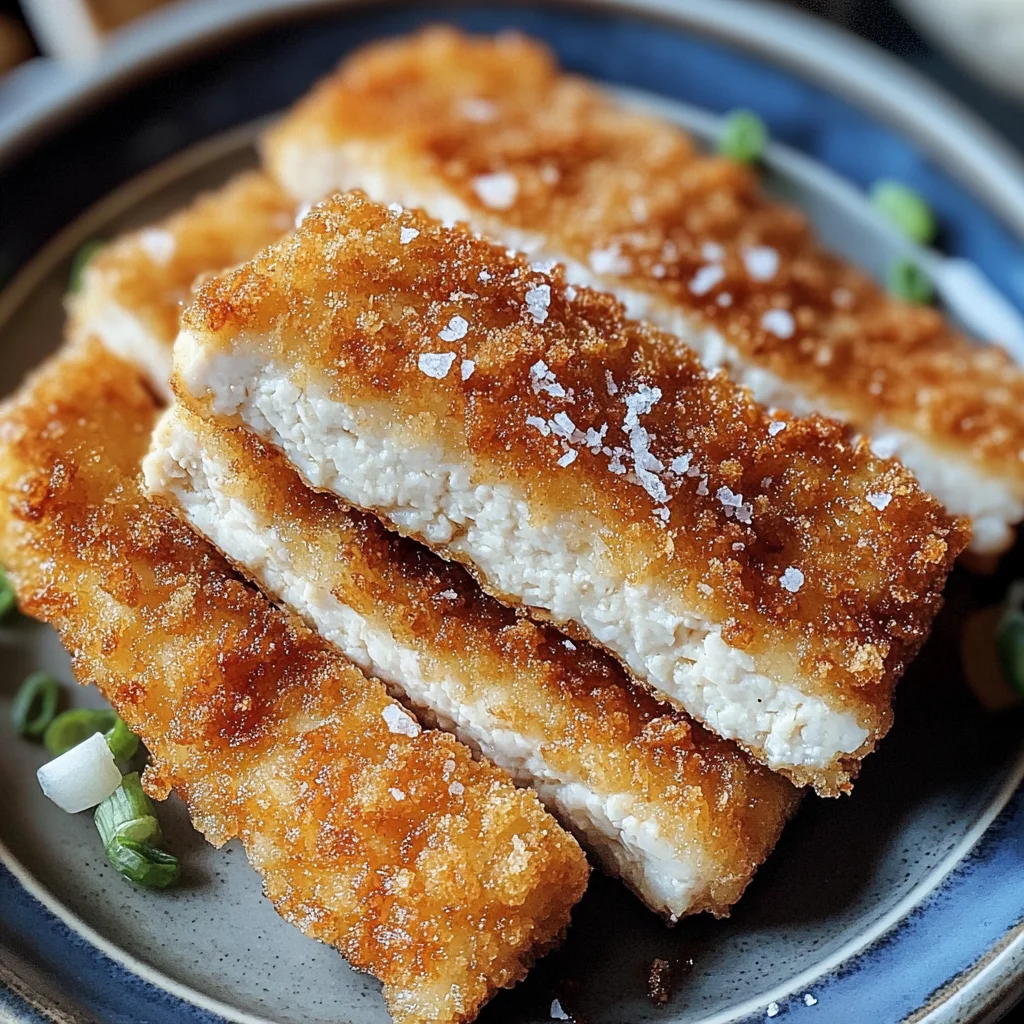
Slice your crispy tofu katsu diagonally for an appetizing presentation and serve alongside rice and Japanese curry or pair it with your favorite dipping sauce. Enjoy every bite of this wonderful dish!
Now that you have everything you need let’s get cooking! I can’t wait for you to experience how delightful this Crispy Tofu Katsu really is!
Pro Tips for Making Crispy Tofu Katsu
Creating the perfect Crispy Tofu Katsu is all about attention to detail and a few clever tricks in the kitchen. Here are some pro tips to elevate your dish!
-
Press the Tofu Well: Properly pressing the tofu removes excess moisture, allowing it to absorb flavors and achieve that desirable crunch when fried.
-
Use Panko Breadcrumbs: Opt for panko instead of regular breadcrumbs; they create a lighter, crispier coating that adds texture and enhances the overall eating experience.
-
Maintain Oil Temperature: Keeping the oil at the right temperature is crucial; if it’s too hot, the outside will burn while the inside remains uncooked, and if it’s too cold, you’ll end up with soggy tofu.
-
Don’t Overcrowd the Pan: Frying too many pieces at once can lower the oil temperature significantly. Fry in batches to ensure each piece cooks evenly and crisps up beautifully.
-
Season After Cooking: Sprinkling salt on your crispy katsu right after frying ensures that it sticks well and enhances flavor without drawing out moisture prematurely.
How to Serve Crispy Tofu Katsu
Serving your Crispy Tofu Katsu can be as simple or as sophisticated as you like! Here are some delightful ways to present this dish that will impress family and friends alike.
Garnishes
-
Chopped Green Onions: A sprinkle of fresh green onions adds a pop of color and a hint of freshness that complements the crispy tofu beautifully.
-
Sesame Seeds: Toasted sesame seeds provide a nutty flavor and an attractive finishing touch that elevates your dish both visually and tastefully.
Side Dishes
-
Steamed Rice: Fluffy steamed rice acts as a perfect base for your tofu katsu, absorbing any delicious sauce you choose to serve alongside it.
-
Japanese Curry: A rich, flavorful Japanese curry pairs wonderfully with crispy tofu katsu, creating a comforting meal that’s full of umami goodness.
-
Cabbage Salad: A light cabbage salad with a tangy dressing adds a refreshing crunch that balances the richness of fried tofu.
-
Miso Soup: A warm bowl of miso soup enhances your meal with savory depth while keeping things light and healthy.
With these serving suggestions, your Crispy Tofu Katsu will not only taste amazing but also look stunning on your dining table! Enjoy every bite!
Make Ahead and Storage
This Crispy Tofu Katsu is perfect for meal prep, allowing you to enjoy a delicious and satisfying dish throughout the week. With just a few simple steps, you can store leftovers or freeze them for later use.
Storing Leftovers
- Place any leftover tofu katsu in an airtight container.
- Store in the refrigerator for up to 3 days.
- Ensure the katsu is completely cooled before sealing to prevent moisture buildup.
Freezing
- Allow the cooked tofu katsu to cool completely.
- Wrap each piece individually in plastic wrap or foil.
- Place wrapped pieces in a freezer-safe bag or container.
- Freeze for up to 2 months for best quality.
Reheating
- For best results, reheat in an air fryer or oven at 350°F (175°C) until heated through and crispy (about 10-15 minutes).
- Alternatively, you can reheat in a skillet over medium heat, flipping occasionally until warmed and crispy.
FAQs
Here are some common questions about the Crispy Tofu Katsu that might help you make this dish even better!
Can I make Crispy Tofu Katsu gluten-free?
Yes! You can substitute all-purpose flour with a gluten-free flour blend and use gluten-free panko breadcrumbs to create a delicious gluten-free version of this dish.
What sauce should I serve with Crispy Tofu Katsu?
You can enjoy your crispy katsu with a variety of sauces such as tonkatsu sauce, teriyaki sauce, or even a homemade dipping sauce made from soy sauce and sesame oil.
How do I achieve the perfect crunch for my Crispy Tofu Katsu?
To ensure maximum crunchiness, make sure to coat your tofu well in the panko breadcrumbs and fry it at the right temperature. Also, avoid overcrowding the pan while frying.
Final Thoughts
I hope you find joy in making this Crispy Tofu Katsu recipe! It’s not only packed with flavor but also serves as a wonderful introduction to plant-based meals. I encourage you to experiment with sides and sauces that suit your taste. Enjoy every bite of your culinary adventure!
Crispy Tofu Katsu
Enjoy deliciously crunchy Crispy Tofu Katsu that’s easy to prepare! Try this satisfying vegan dish today for dinner or meal prep!
- Prep Time: 20 minutes
- Cook Time: 10 minutes
- Total Time: 30 minutes
- Yield: Serves 4
- Category: Dinner
- Method: Frying
- Cuisine: Japanese
Ingredients
- 9 oz extra firm tofu (pressed)
- 0.25 cup all-purpose flour
- 0.25 cup non-dairy milk
- 0.5 cup panko bread crumbs
- Pinch of garlic powder
- Salt and black pepper (to taste)
- Oil (for frying)
Instructions
- Press the tofu between paper towels with a weight on top for 10-15 minutes to remove excess moisture.
- Slice the pressed tofu into 0.5-inch thick pieces and season both sides with salt and pepper.
- Set up a dipping station with three bowls: one with flour mixed with seasonings, one with non-dairy milk, and one with panko breadcrumbs.
- Coat each tofu piece by dipping it first in the flour mixture, then in the milk, and finally in panko breadcrumbs.
- Heat oil in a pan over medium-high heat until hot enough for frying.
- Fry the coated tofu pieces in batches until golden brown on both sides, about 3-4 minutes per side.
- Drain on paper towels and sprinkle with salt while hot.
- Serve sliced diagonally alongside rice or your preferred dipping sauce.
Nutrition
- Serving Size: 1 piece (75g)
- Calories: 180
- Sugar: 1g
- Sodium: 250mg
- Fat: 9g
- Saturated Fat: 1g
- Unsaturated Fat: 8g
- Trans Fat: 0g
- Carbohydrates: 20g
- Fiber: 1g
- Protein: 7g
- Cholesterol: 0mg


Leave a Comment