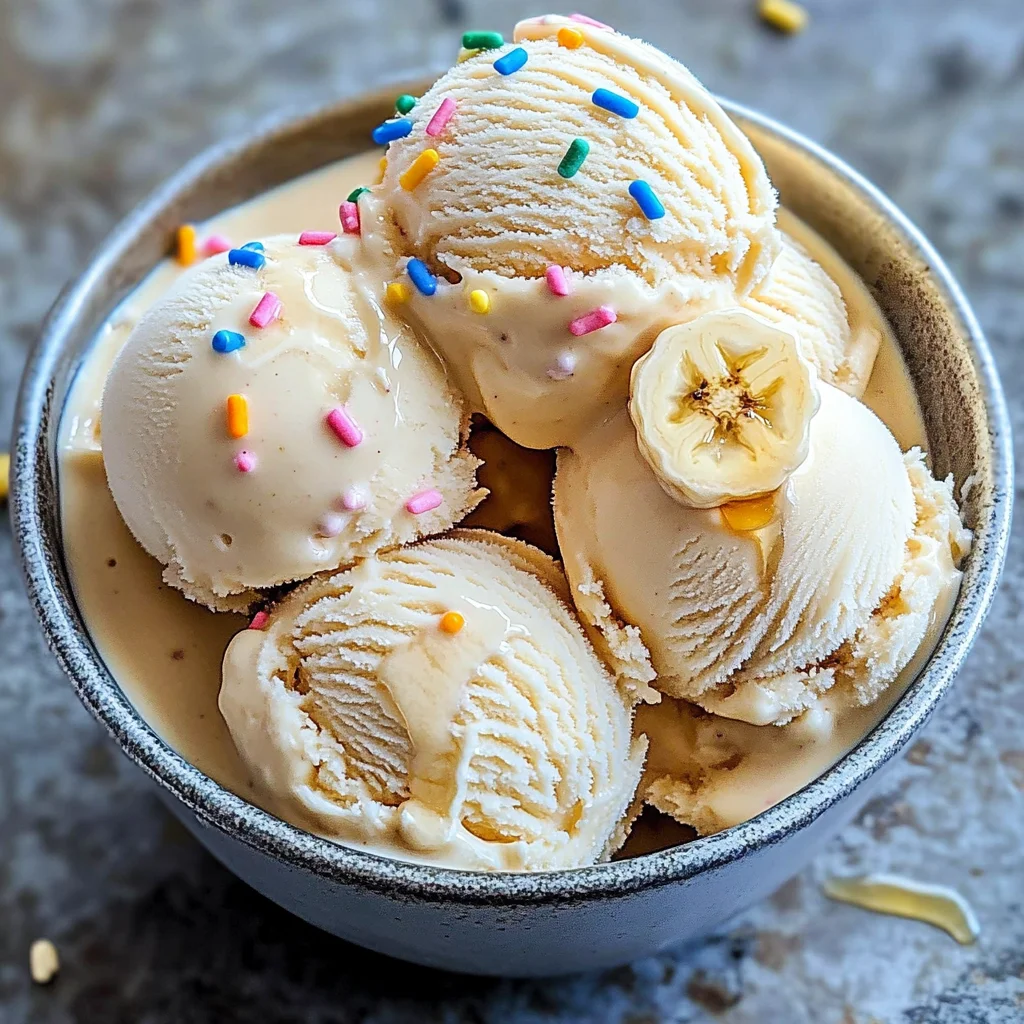
If you’re looking for a simple and delicious way to enjoy dessert without the fuss, you’ve come to the right place! This No Churn Banana Ice Cream is a favorite in my household because it transforms those overripe bananas sitting on your countertop into a creamy delight. Perfect for hot summer days or as a guilt-free late-night snack, this treat is not only easy to whip up but also customizable to suit everyone’s taste.
Whether you’re hosting family gatherings or just treating yourself after a long day, this ice cream is sure to impress. With just four wholesome ingredients and no need for an ice cream maker, you can indulge in a tropical bliss that feels indulgent yet oh-so-satisfying!
Why You’ll Love This Recipe
- Effortless Preparation: Just blend, freeze, and enjoy! It’s almost too easy.
- Family-Friendly Delight: Kids love it, and you can feel good about serving them something wholesome.
- Make-Ahead Convenience: Whip it up in advance for spontaneous cravings or gatherings.
- Total Customization: Add your favorite toppings or mix-ins for a personalized touch!
- Healthy Indulgence: Naturally sweetened with bananas and honey/maple syrup, it’s a guilt-free treat.
Ingredients You’ll Need
This recipe calls for simple, wholesome ingredients that are likely already in your kitchen! Let’s gather everything we need to create this delightful frozen treat.
- 3 overripe bananas (about 450g)
- 1 cup full-fat coconut milk (240ml)
- ½ cup honey or maple syrup (120ml)
- 1 tsp pure vanilla extract
Variations
One of the best parts about this No Churn Banana Ice Cream is its flexibility! You can easily tweak it to suit your preferences. Here are some fun variations to try:
- Add Chocolate Chips: Stir in some dairy-free chocolate chips for a decadent twist.
- Mix in Nuts: Chopped walnuts or almonds add great texture and flavor.
- Fruit Swirl: Fold in pureed berries or other fruits for added sweetness and color.
- Spice it Up: A dash of cinnamon or nutmeg can enhance the flavor profile beautifully.
How to Make No Churn Banana Ice Cream
Step 1: Prepare the Bananas
Peel and slice the overripe bananas into chunks. Using overripe bananas is key here; they provide the natural sweetness and creamy texture that will make your ice cream irresistible.
Step 2: Blend Until Smooth
Blend the banana chunks in a blender until smooth. This step ensures that there are no lumps left behind, resulting in a silky-smooth ice cream base that’s just heavenly.
Step 3: Combine Ingredients
Add the coconut milk, sweetener, and vanilla extract to the blender; blend until well combined. The coconut milk adds richness while keeping this treat dairy-free and delicious!
Step 4: Transfer and Smooth
Transfer the mixture to an airtight container and smooth the top. This helps with even freezing, ensuring every scoop has that perfect consistency.
Step 5: Freeze
Freeze for at least 4 hours or until solid. Patience is key here! The longer it sits, the better it will set into that lovely ice cream texture.
Step 6: Serve and Enjoy
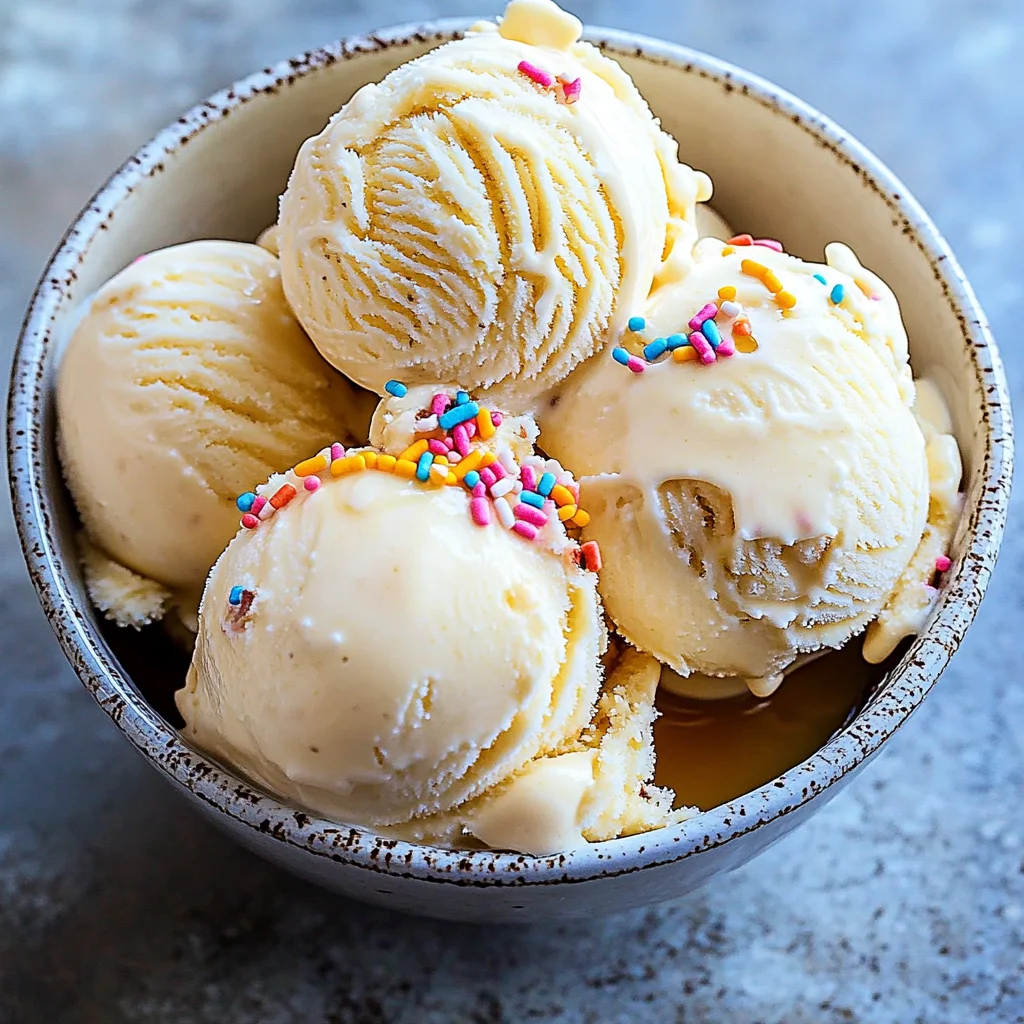
Serve scoops in bowls or cones, adding your favorite toppings if desired. Letting it sit at room temperature for about 5 minutes before serving helps achieve that dreamy scoopable texture everyone loves.
Enjoy your homemade No Churn Banana Ice Cream — it’s sure to be a hit!
Pro Tips for Making No Churn Banana Ice Cream
Creating the perfect No Churn Banana Ice Cream is a breeze with these helpful tips!
- Choose the right bananas: Use brown-speckled bananas for optimal sweetness and creaminess, as they are riper and contain more natural sugars.
- Blend thoroughly: Ensure that you blend the mixture until completely smooth to achieve a creamy texture without any banana chunks.
- Use full-fat coconut milk: This adds richness and creaminess to your ice cream, making it feel indulgent while still being dairy-free.
- Freeze in a shallow container: A wide, shallow container allows the ice cream to freeze evenly and makes scooping easier when it’s time to serve.
- Let it soften before serving: Allowing the ice cream to sit at room temperature for about 5 minutes makes it easier to scoop and enhances the overall texture.
How to Serve No Churn Banana Ice Cream
Serving your No Churn Banana Ice Cream can be just as fun as making it! Here are some creative ideas to make your dessert stand out.
Garnishes
- Chopped nuts: Sprinkle some chopped walnuts or almonds on top for a delightful crunch that complements the creamy texture.
- Coconut flakes: Toasted coconut flakes add a tropical flair and an extra layer of flavor that pairs perfectly with banana.
- Fresh berries: Add a handful of blueberries or strawberries for a burst of freshness and color that enhances the presentation.
Side Dishes
- Fruit salad: A refreshing mix of seasonal fruits adds brightness to your dessert table and balances the sweetness of the ice cream.
- Granola: Serve a small bowl of crunchy granola on the side for added texture; its oatiness complements the creamy ice cream beautifully.
- Oatmeal cookies: These chewy treats make a great companion, providing a delicious contrast in flavor and texture alongside your ice cream.
- Chocolate sauce: Drizzle some dairy-free chocolate sauce over your ice cream for an indulgent touch that will satisfy any sweet tooth.
Make Ahead and Storage
This No Churn Banana Ice Cream is perfect for meal prep, allowing you to whip up a batch ahead of time and enjoy it whenever the craving strikes!
Storing Leftovers
- Transfer any leftover ice cream into an airtight container.
- Store in the freezer for up to two weeks for optimal freshness.
- If the mixture hardens too much, let it sit at room temperature for a few minutes before scooping.
Freezing
- Once made, allow the ice cream to freeze for at least 4 hours or until solid.
- For best results, cover the top of the ice cream with parchment paper before sealing the container to prevent freezer burn.
Reheating
- There’s no need to reheat this frozen treat! Simply let it sit out at room temperature for about 5 minutes before serving to soften slightly.
FAQs
Have some questions? Here are answers to common queries about making No Churn Banana Ice Cream.
Can I use other sweeteners instead of honey or maple syrup in No Churn Banana Ice Cream?
Yes! You can substitute with agave nectar, coconut sugar, or your preferred sweetener. Just adjust the amount based on your taste preference.
How do I make No Churn Banana Ice Cream without a blender?
If you don’t have a blender, you can mash the bananas thoroughly with a fork until smooth and mix in the other ingredients by hand. The texture might be less creamy but will still be delicious!
Can I add mix-ins to my No Churn Banana Ice Cream?
Absolutely! Feel free to add chocolate chips, nuts, or berries into the mixture before freezing. This adds extra flavor and texture to your ice cream.
Final Thoughts
I truly hope you enjoy making this No Churn Banana Ice Cream as much as I do! It’s a wonderful way to use overripe bananas while treating yourself to something delicious and refreshing. Don’t hesitate to get creative with toppings and mix-ins. Happy scooping!
No Churn Banana Ice Cream
Indulge in the delightful simplicity of No Churn Banana Ice Cream—a creamy, guilt-free dessert that transforms overripe bananas into a frozen treat your whole family will love. With just four wholesome ingredients, this recipe is perfect for those hot summer days or as a satisfying late-night snack. The luscious coconut milk adds a rich texture, while the natural sweetness from bananas and honey or maple syrup delivers pure bliss without the fuss of an ice cream maker. Customize it with your favorite toppings or mix-ins for a personalized touch. Enjoy this easy-to-make treat that not only satisfies your sweet tooth but also makes good use of those ripe bananas sitting on your countertop.
- Prep Time: 10 minutes
- Cook Time: None
- Total Time: 0 hours
- Yield: Serves approximately 2
- Category: Dessert
- Method: Freezing
- Cuisine: American
Ingredients
- 3 overripe bananas (about 450g)
- 1 cup full-fat coconut milk (240ml)
- ½ cup honey or maple syrup (120ml)
- 1 tsp pure vanilla extract
Instructions
- Peel and slice the overripe bananas into chunks.
- Blend the banana chunks until smooth in a blender.
- Add coconut milk, sweetener, and vanilla extract; blend until well combined.
- Transfer the mixture to an airtight container and smooth the top.
- Freeze for at least 4 hours or until solid.
- Serve scoops in bowls or cones, adding your favorite toppings if desired.
Nutrition
- Serving Size: 1 serving
- Calories: 320
- Sugar: 32g
- Sodium: 5mg
- Fat: 13g
- Saturated Fat: 11g
- Unsaturated Fat: 2g
- Trans Fat: 0g
- Carbohydrates: 48g
- Fiber: 4g
- Protein: 2g
- Cholesterol: 0mg
Leave a Comment