If you’re looking for a crowd-pleasing appetizer that’s sure to be a hit at any gathering, then this Baked Taco Dip is just what you need! It’s creamy, cheesy, and loaded with all the classic flavors of a taco, making it perfect for parties, game days, or even cozy family nights at home. I love how easy it is to whip up and how it brings everyone together around the snack table. Plus, it’s versatile enough to suit everyone’s tastes!
This dip is not only delicious but also incredibly satisfying as it layers creaminess with a spicy kick. Whether you’re diving in with tortilla chips or enjoying it straight from the dish, each bite is pure bliss!
Why You’ll Love This Recipe
- Quick to Prepare: With just 15 minutes of prep time, you can have this dip ready in no time!
- Family Favorite: The cheesy goodness and familiar flavors make it a hit with both kids and adults alike.
- Perfect for Any Occasion: Whether it’s a casual get-together or a festive party, this dip fits right in.
- Make-Ahead Convenience: You can prepare it in advance and bake it just before serving—so you can enjoy the fun too!
- Customizable Flavors: Feel free to mix and match toppings or ingredients to create your perfect blend.
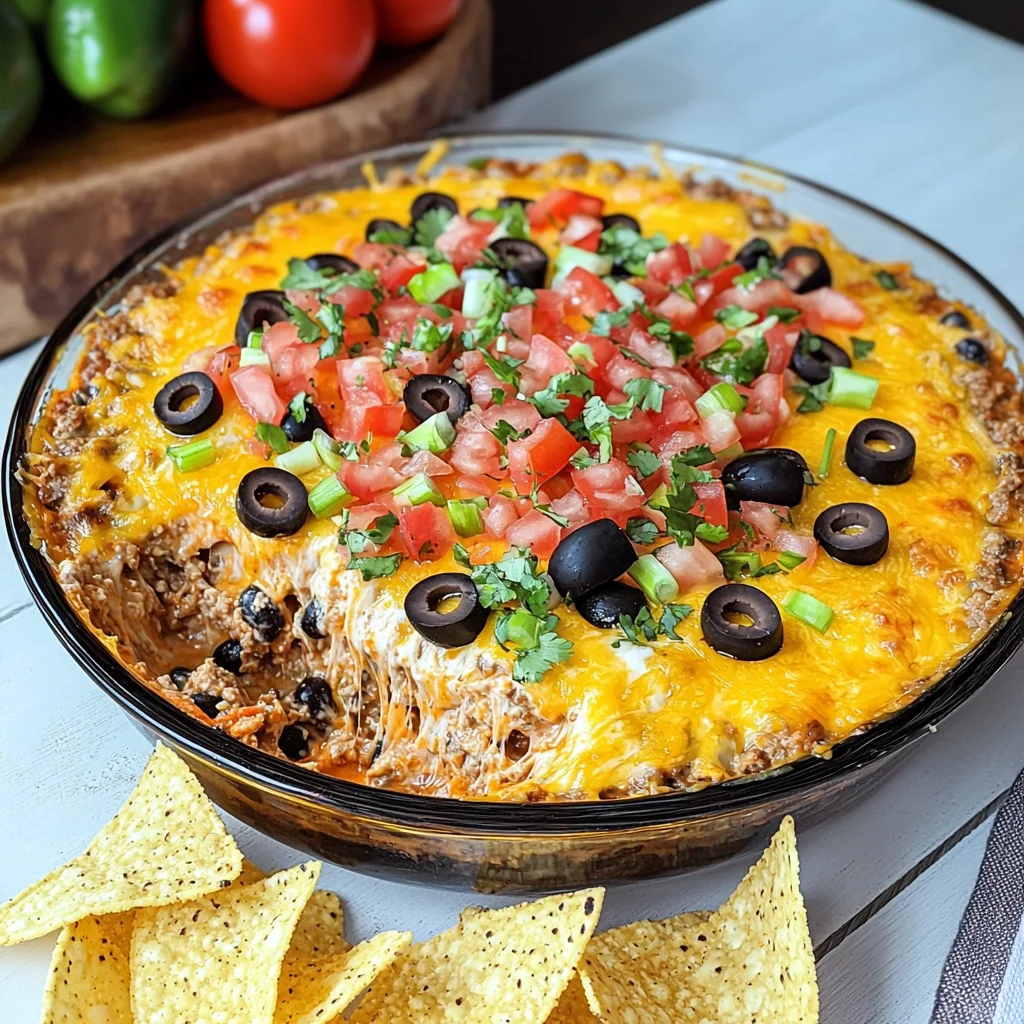
Ingredients You’ll Need
These are simple, wholesome ingredients that come together beautifully in this Baked Taco Dip. Gather them up and let’s get started!
For the Dip
- 1 pound ground beef or turkey
- 1 packet taco seasoning
- 1/2 cup water
- 8 ounces cream cheese, softened
- 1 cup sour cream
- 1 cup salsa
- 2 cups shredded Mexican blend cheese, divided
- 1/2 cup chopped tomatoes
- 1/4 cup sliced black olives
- 2 green onions, sliced
To Serve
- Tortilla chips for serving
Variations
The beauty of Baked Taco Dip lies in its flexibility! Here are some fun ideas to customize it:
- Swap the protein: Use ground chicken or even plant-based crumbles for a lighter or vegetarian option.
- Add some heat: Mix in diced jalapeños or your favorite hot sauce if you like things spicy.
- Go dairy-free: Substitute vegan cream cheese and sour cream for a delicious plant-based version.
- Top it differently: Try adding fresh cilantro or avocado slices on top for an extra burst of flavor.
How to Make Baked Taco Dip
Step 1: Preheat the Oven
First things first—preheat your oven to 375°F (190°C). This ensures that your dip bakes evenly and becomes perfectly bubbly.
Step 2: Cook the Meat
In a skillet over medium heat, brown the ground meat until it’s fully cooked. Drain any excess fat. Stir in the taco seasoning and water, letting it simmer for about 2-3 minutes. This step adds all those delightful taco flavors to your meat.
Step 3: Prepare the Creamy Layer
In a mixing bowl, combine softened cream cheese, sour cream, and salsa until smooth. Spreading this mixture into your baking dish creates a luscious base that balances out the flavors perfectly.
Step 4: Layer It Up
Now it’s time to layer! Start by adding the cooked taco meat on top of your creamy base. Then sprinkle 1 1/2 cups of shredded cheese over the meat layer. This cheesy goodness will melt beautifully during baking.
Step 5: Bake Until Golden
Pop your assembled dip into the oven and bake for about 15-20 minutes until the cheese is melted and bubbly. This is where all those wonderful smells start wafting through your kitchen!
Step 6: Add Fresh Toppings
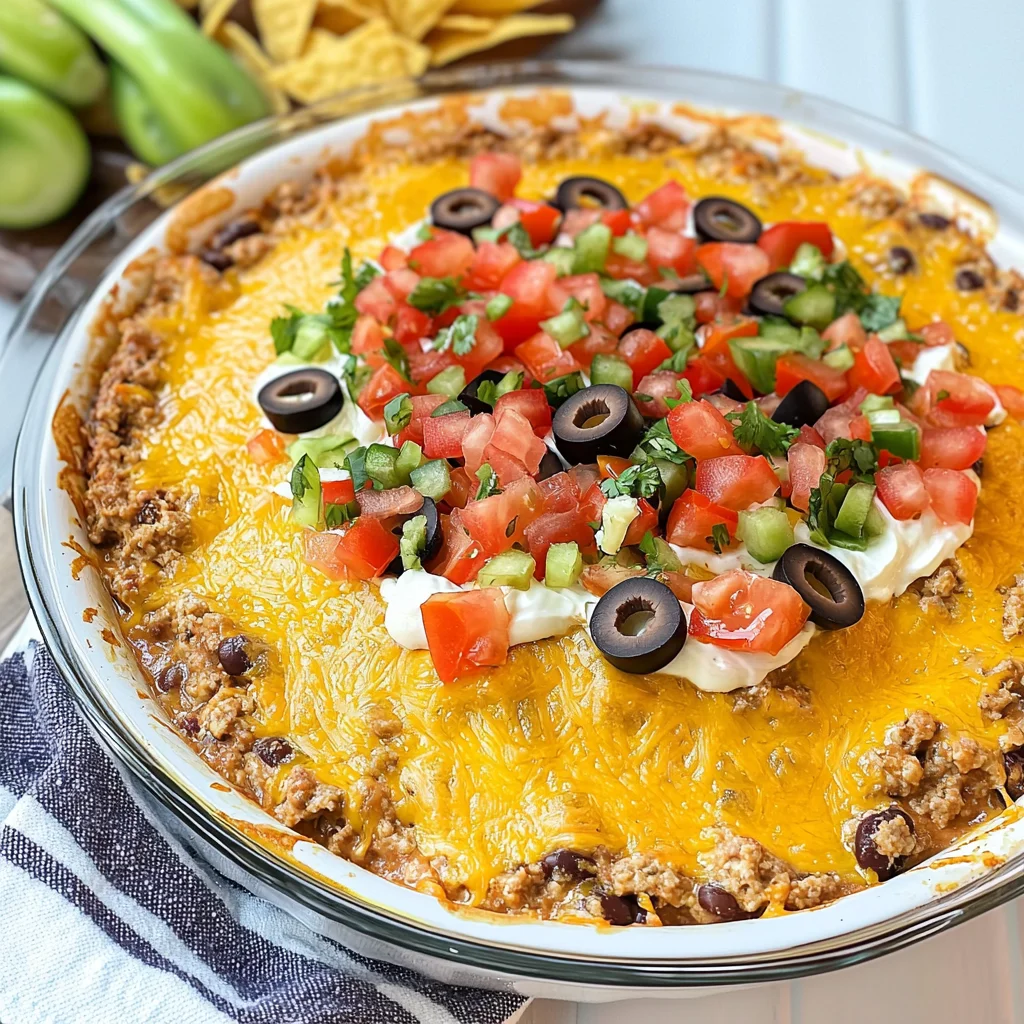
Once baked, take it out of the oven and top with chopped tomatoes, olives, green onions, and any remaining cheese you have left. These fresh toppings add color and crunch!
Step 7: Serve Warm
Grab some tortilla chips and serve your warm Baked Taco Dip right away. Watch as everyone digs in—it’s bound to disappear fast!
Pro Tips for Making Baked Taco Dip
Creating the perfect Baked Taco Dip is all about the little details! Here are some tips to ensure your dip turns out delicious every time:
-
Use Room Temperature Ingredients: Let your cream cheese and sour cream come to room temperature before mixing. This helps achieve a smooth and creamy texture, making it easier to spread.
-
Don’t Skip the Toppings: Adding fresh toppings like tomatoes, olives, and green onions not only enhances the flavor but also adds color and freshness to your dish, making it visually appealing.
-
Customize Spice Levels: Adjust the amount of taco seasoning based on your spice preference. This way, you can cater to both those who love a kick and those who prefer milder flavors.
-
Make Ahead of Time: Prepare the layers in advance and store them in the fridge until you’re ready to bake. This saves time during busy party prep and allows the flavors to meld beautifully.
-
Check for Doneness: Keep an eye on your dip while baking. You’re looking for melted cheese and bubbly edges; this indicates it’s perfectly heated through without overcooking.
How to Serve Baked Taco Dip
Serving Baked Taco Dip can be as much fun as making it! Here are some ideas to elevate your presentation and enhance your gathering:
Garnishes
- Chopped Cilantro: Adds a fresh, herbaceous note that complements the taco flavors beautifully.
- Sour Cream Drizzle: A light drizzle of sour cream on top gives a creamy contrast and looks attractive on the plate.
Side Dishes
- Guacamole: The creamy avocado goodness pairs perfectly with the spicy dip, providing a refreshing balance.
- Mexican Street Corn Salad: This zesty salad brings sweet corn, lime, and chili together for a delightful side that complements the dip.
- Refried Beans: A warm bowl of refried beans offers a hearty addition; its smooth texture contrasts nicely with the layered dip.
- Fresh Vegetable Platter: Crisp veggies like bell peppers, cucumbers, and carrots add crunch and make for a healthier dipping option.
Make Ahead and Storage
This Baked Taco Dip is a fantastic option for meal prep, allowing you to enjoy its delicious flavors anytime! Here are some tips for storing and enjoying your dip later:
Storing Leftovers
- Store any leftover dip in an airtight container in the refrigerator.
- It will keep well for up to 3 days.
- When ready to enjoy, you can reheat as needed.
Freezing
- For longer storage, you can freeze the dip before baking.
- Wrap it tightly in plastic wrap and then foil to prevent freezer burn.
- It can be frozen for up to 2 months.
Reheating
- To reheat, thaw in the refrigerator overnight if frozen.
- Bake in a preheated oven at 350°F (175°C) until heated through, about 20-25 minutes.
- You can also microwave individual servings until warm.
FAQs
Can I make Baked Taco Dip ahead of time?
Absolutely! You can prepare the layers in advance and store them separately until you’re ready to bake. This makes for a quick and easy appetizer when you’re short on time.
What toppings can I add to my Baked Taco Dip?
Feel free to customize your dip with toppings like guacamole, jalapeños, or fresh cilantro. These additions enhance the flavor and presentation!
How long does Baked Taco Dip last?
When stored properly in the fridge, Baked Taco Dip will last for about 3 days. Just be sure to keep it in an airtight container!
Can I use ground turkey instead of beef for Baked Taco Dip?
Yes! Ground turkey is a great alternative that keeps this dish lean while still delivering great flavor.
Final Thoughts
Baked Taco Dip is not only delicious but also incredibly versatile and perfect for gatherings or cozy nights at home. I hope you enjoy making this recipe as much as I enjoyed sharing it with you. Don’t hesitate to get creative with your toppings or variations — have fun with it! Happy cooking!
Baked Taco Dip

Baked Taco Dip is a delightful appetizer that captures the essence of classic taco flavors in a creamy, cheesy form. Perfect for any gathering, this dish combines hearty ground beef or turkey with smooth cream cheese and zesty salsa, creating a warm dip that’s sure to be a crowd-pleaser. Whether served with crispy tortilla chips or enjoyed straight from the dish, each bite is packed with flavor and comfort. Ideal for game days, parties, or family movie nights, this dip is not only easy to prepare but also customizable to suit various taste preferences. Elevate your next get-together with this irresistible Baked Taco Dip that brings everyone together around the snack table!
- Prep Time: 15 minutes
- Cook Time: 20 minutes
- Total Time: 35 minutes
- Yield: Serves approximately 8
- Category: Appetizer
- Method: Baking
- Cuisine: Mexican
Ingredients
- 1 pound ground beef or turkey
- 1 packet taco seasoning
- 1/2 cup water
- 8 ounces cream cheese, softened
- 1 cup sour cream
- 1 cup salsa
- 2 cups shredded Mexican blend cheese, divided
- 1/2 cup chopped tomatoes
- 1/4 cup sliced black olives
- 2 green onions, sliced
- Tortilla chips for serving
Instructions
- Preheat your oven to 375°F (190°C).
- In a skillet over medium heat, brown the ground meat until fully cooked; drain excess fat. Stir in taco seasoning and water, simmering for 2-3 minutes.
- In a bowl, mix cream cheese, sour cream, and salsa until smooth. Spread into a baking dish.
- Layer cooked meat on top of the creamy mixture, followed by 1½ cups shredded cheese.
- Bake for 15-20 minutes until cheese is melted and bubbly.
- Top with chopped tomatoes, olives, green onions, and remaining cheese.
- Serve warm with tortilla chips.
Nutrition
- Serving Size: Approximately 1/2 cup (120g)
- Calories: 290
- Sugar: 2g
- Sodium: 650mg
- Fat: 19g
- Saturated Fat: 10g
- Unsaturated Fat: 7g
- Trans Fat: 0g
- Carbohydrates: 14g
- Fiber: 1g
- Protein: 17g
- Cholesterol: 60mg



Leave a Comment