If you’re looking for a dessert that combines the delightful flavors of chocolate and orange, then this Chocolate Orange Cheesecake is just the treat you need! It’s rich, creamy, and absolutely decadent. This cheesecake has become a staple in my home, perfect for family gatherings or cozy nights in. It’s one of those desserts that impresses without requiring hours in the kitchen.
Whether you’re celebrating a special occasion or simply indulging on a busy weeknight, this chocolate orange cheesecake is sure to bring smiles all around. With its beautiful layers and luscious taste, it’s bound to become a favorite in your household too!
Why You’ll Love This Recipe
- Quick Prep Time: With just 5 minutes of prep, this cheesecake is easy to whip up anytime.
- Decadent Flavor: The combination of chocolate and orange creates a mouthwatering treat that everyone will adore.
- Make-Ahead Convenience: Prepare it a day in advance for stress-free entertaining.
- Impress Your Guests: Serve this showstopper at parties and watch your friends rave about it!
- Family Friendly: Kids will love the sweet flavors, making it perfect for family gatherings.
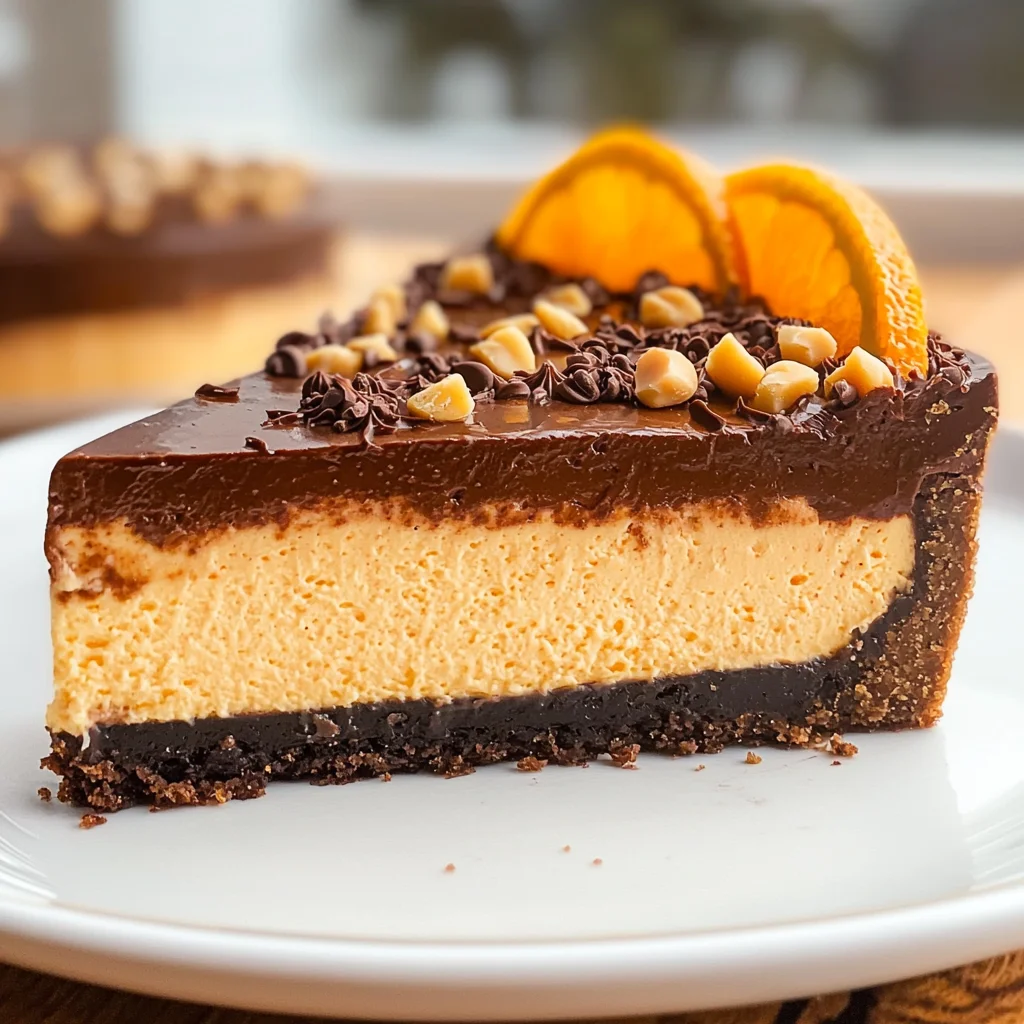
Ingredients You’ll Need
You’ll find that these ingredients are simple and wholesome, making it easy to create this delightful dessert. Gather these items for your Chocolate Orange Cheesecake:
For the Crust
- 1 1/2 cups graham cracker crumbs
- 1/2 cup macadamia nuts (coarsely chopped)
- 4 tablespoons butter (melted)
- 2 tablespoons sugar
- 1 teaspoon vanilla bean paste
For the Filling
- 3 blocks cream cheese (full fat version, 24 oz in total)
- 1 cup sugar
- 3 large eggs
- 1 cup heavy cream
- 2 tablespoons orange extract
- 1 tablespoon vanilla bean paste
- orange food color (optional, as much as necessary to get the color you desire)
For the Ganache
- 8 ounces semi-sweet chocolate chips
- 1/2 cup heavy cream
- 3 tablespoons butter (melted)
Variations
This recipe is wonderfully flexible! Feel free to explore these variations to suit your tastes:
- Nut-Free Option: Swap out macadamia nuts for crushed graham crackers or leave them out entirely for a nut-free crust.
- Vegan Twist: Use plant-based cream cheese and whipped coconut cream instead of heavy cream for a vegan-friendly version.
- Different Flavors: Experiment with other extracts like almond or lemon for a unique flavor profile.
- Fruit Topping: Top your cheesecake with fresh berries or candied oranges for added color and freshness.
How to Make Chocolate Orange Cheesecake
Step 1: Prepare the Crust
Start by preheating your oven to 325°F (160°C). In a mixing bowl, combine the graham cracker crumbs, chopped macadamia nuts, melted butter, sugar, and vanilla bean paste. Mix until everything is well combined. Press this mixture firmly into the bottom of a springform pan. This step creates a deliciously crunchy base that balances out the creamy filling.
Step 2: Make the Filling
In another bowl, beat together the cream cheese and sugar until it’s smooth and creamy. Add in the eggs one at a time, mixing well after each addition. Then pour in the heavy cream, orange extract, and vanilla bean paste. If you’d like that vibrant orange hue, add your desired amount of food coloring now. This filling is what makes each slice so rich and flavorful!
Step 3: Bake Your Cheesecake
Pour the filling over your prepared crust in the springform pan. Bake in your preheated oven for about 60 minutes or until set but still slightly jiggly in the middle. Let it cool completely before refrigerating for at least four hours or overnight. This chilling time helps develop those wonderful flavors!
Step 4: Create the Ganache Topping
To make the ganache, heat heavy cream until it’s steaming but not boiling. Pour it over semi-sweet chocolate chips in a bowl and let it sit for a few minutes before stirring until smooth. Add melted butter for extra richness! Once your cheesecake has chilled sufficiently, pour this luscious ganache over the top.
Step 5: Serve and Enjoy!
Carefully remove your cheesecake from the springform pan once it’s set. Slice into generous portions and enjoy every bite! Each piece brings together that delightful marriage of chocolatey goodness with zesty orange — pure bliss on a plate!
Pro Tips for Making Chocolate Orange Cheesecake
Creating the perfect Chocolate Orange Cheesecake is easier than you think with these helpful tips!
-
Use room temperature ingredients: Ensuring your cream cheese and eggs are at room temperature helps achieve a smooth and creamy filling without lumps.
-
Don’t overmix: Mixing the batter just until combined prevents incorporating too much air, which can cause cracks in your cheesecake during baking.
-
Bake in a water bath: Placing your cheesecake pan in a larger pan filled with hot water creates a gentle baking environment, reducing the risk of cracks and ensuring even cooking.
-
Cool slowly: After baking, let your cheesecake cool gradually in the oven with the door ajar. This gradual cooling helps prevent sudden temperature changes that can lead to cracks.
-
Chill before serving: For the best texture and flavor, refrigerate your cheesecake for at least 4 hours (or overnight) before serving. This allows the flavors to meld beautifully!
How to Serve Chocolate Orange Cheesecake
Presenting your Chocolate Orange Cheesecake elegantly can make all the difference! Here are some ideas to enhance its appeal.
Garnishes
- Whipped cream: A dollop of freshly whipped cream adds a light and airy contrast to the rich cheesecake.
- Chocolate shavings: Sprinkle chocolate shavings on top for an elegant touch that complements the chocolate ganache.
- Orange zest: A sprinkle of fresh orange zest not only looks beautiful but also enhances the citrus flavor profile.
Side Dishes
- Fresh berries: A side of mixed berries adds a refreshing tartness that balances the richness of the cheesecake.
- Mint leaves: Fresh mint leaves provide a pop of color and freshness, making each bite more vibrant.
- Coffee or espresso: Serving this cheesecake alongside a cup of coffee or espresso enhances its flavors while providing a lovely contrast.
- Vanilla ice cream: A scoop of vanilla ice cream offers a creamy companion that pairs wonderfully with the rich chocolate and orange notes.
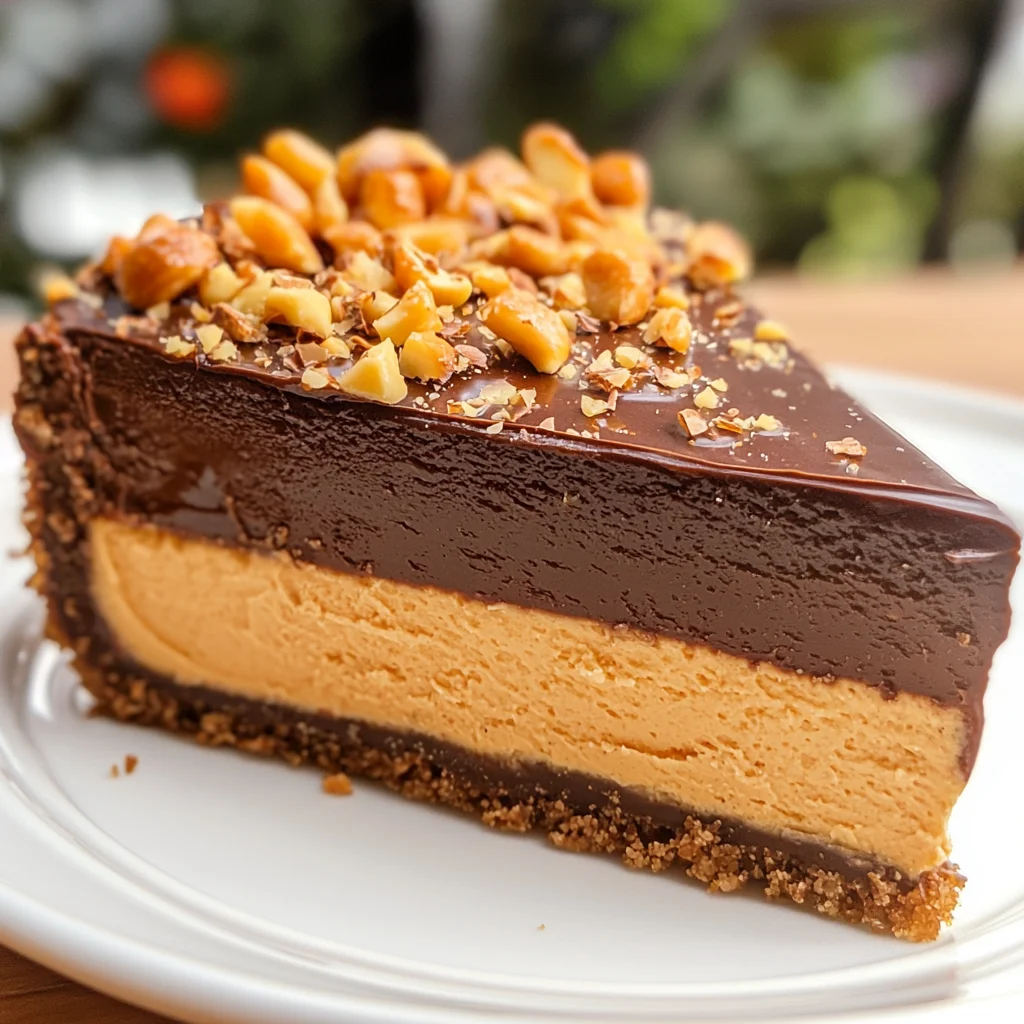
Make Ahead and Storage
This Chocolate Orange Cheesecake is perfect for meal prep, allowing you to enjoy its delightful flavors without the stress of last-minute baking. Here’s how to store and preserve this decadent dessert!
Storing Leftovers
- Store any leftover cheesecake in an airtight container.
- Keep it in the refrigerator for up to 5 days.
- If possible, cover the surface with plastic wrap to keep it fresh.
Freezing
- Wrap individual slices or the whole cheesecake tightly in plastic wrap.
- Place wrapped cheesecake in a freezer-safe container or bag.
- Freeze for up to 3 months for best quality.
Reheating
- Thaw frozen cheesecake overnight in the refrigerator before serving.
- For a warm slice, microwave on low power for 15-20 seconds until slightly warmed.
FAQs
Here are some common questions about making and enjoying Chocolate Orange Cheesecake.
Can I make Chocolate Orange Cheesecake without cream cheese?
Yes! You can substitute cream cheese with a non-dairy cream cheese alternative for a vegan version of Chocolate Orange Cheesecake.
How long does Chocolate Orange Cheesecake last?
When stored properly, Chocolate Orange Cheesecake can last up to 5 days in the fridge and up to 3 months if frozen.
What can I use instead of orange extract?
If you don’t have orange extract, consider using fresh orange zest or juice to infuse your cheesecake with a natural citrus flavor.
Final Thoughts
This Chocolate Orange Cheesecake is not just a dessert; it’s an experience that brings joy and indulgence to any gathering. I hope you enjoy making this delicious recipe as much as I do! Don’t hesitate to share it with family and friends—there’s nothing quite like the smiles it brings. Happy baking!
Chocolate Orange Cheesecake
Indulge in the luxurious flavors of this Chocolate Orange Cheesecake, a dessert that perfectly balances rich chocolate with zesty orange. With its velvety filling and delightful ganache topping, this cheesecake is a showstopper for any occasion. Whether you’re hosting a gathering or treating yourself on a weeknight, this recipe is quick to prepare and easy to make ahead of time. Impress your guests with this decadent dessert that will surely become a favorite in your home!
- Prep Time: 15 minutes
- Cook Time: 60 minutes
- Total Time: 1 hour 15 minutes
- Yield: Serves approximately 12 1x
- Category: Dessert
- Method: Baking
- Cuisine: American
Ingredients
- 1 1/2 cups graham cracker crumbs
- 1/2 cup coarsely chopped macadamia nuts (or crushed graham crackers for nut-free)
- 4 tablespoons melted butter
- 3 blocks (24 oz) cream cheese
- 1 cup sugar
- 3 large eggs
- 1 cup heavy cream
- 2 tablespoons orange extract
- 8 ounces semi-sweet chocolate chips
Instructions
- Preheat the oven to 325°F (160°C).
- In a bowl, mix graham cracker crumbs, macadamia nuts, melted butter, sugar, and vanilla bean paste. Press into the bottom of a springform pan.
- Beat cream cheese and sugar until smooth. Add eggs one at a time, then mix in heavy cream, orange extract, and food coloring if desired.
- Pour filling over crust and bake for about 60 minutes until set but slightly jiggly in the center.
- Let cool completely before refrigerating for at least four hours or overnight.
- For ganache, heat heavy cream until steaming and pour over chocolate chips; stir until smooth and add melted butter.
- Once chilled, pour ganache over cheesecake and serve.
Nutrition
- Serving Size: 1 slice (approximately 95g)
- Calories: 390
- Sugar: 25g
- Sodium: 280mg
- Fat: 30g
- Saturated Fat: 17g
- Unsaturated Fat: 10g
- Trans Fat: 0g
- Carbohydrates: 30g
- Fiber: 1g
- Protein: 6g
- Cholesterol: 90mg

Leave a Comment