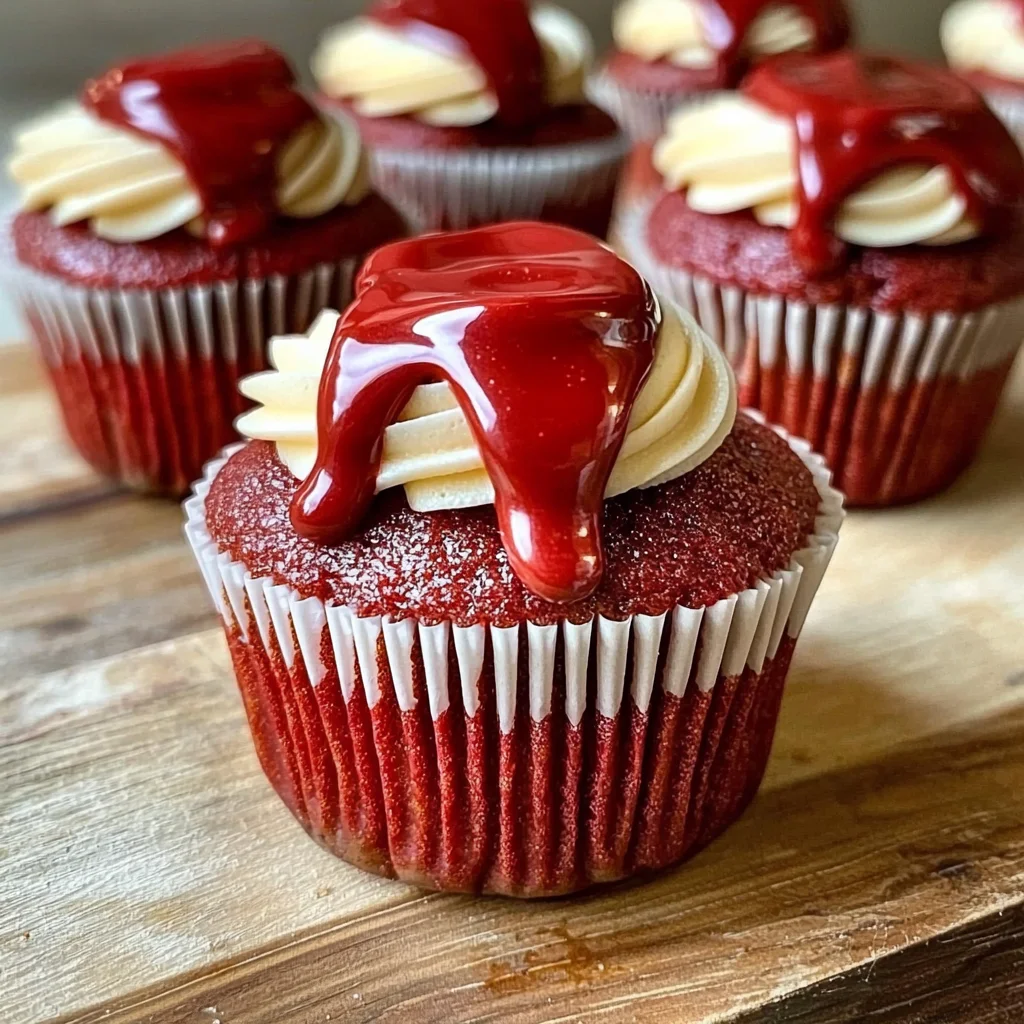
If you’re looking for a show-stopping dessert that’s surprisingly easy to whip up, then this Red Velvet Molten Lava Cupcakes Recipe is just the thing! These delightful cupcakes are perfect for any occasion, whether it’s a cozy family gathering, a celebration with friends, or even just to treat yourself after a long week. The rich red velvet flavor combined with a gooey chocolate center creates a dessert that feels indulgent yet is simple enough for beginners. Trust me, once you taste these, they’ll become a favorite in your household!
Why You’ll Love This Recipe
- Quick and Easy: With just a box of cake mix and some chocolate, you can create an impressive dessert in under an hour.
- Family-Friendly Appeal: Kids and adults alike will adore the fun surprise of the molten center!
- Make Ahead Convenience: Prepare the ganache ahead of time and have cupcakes ready for whenever the dessert cravings strike.
- Perfectly Shareable: These cupcakes are ideal for parties or potlucks — everyone will want to try them!
Ingredients You’ll Need
You’ll love how simple and wholesome these ingredients are. Most of them you probably already have in your kitchen! Let’s gather everything we need to make these scrumptious Red Velvet Molten Lava Cupcakes.
For the Cupcakes
- 1 approximately 15 ounce box red velvet cake mix (plus ingredients called for to make the cake: eggs, water, and oil)
For the Ganache
- 8 ounces semi-sweet baking chocolate
- ½ cup heavy cream
For Garnish
- Powdered sugar (for garnish)
Variations
One of the best things about this recipe is its flexibility! You can easily adapt it to suit different tastes or dietary preferences. Here are some fun variations to consider:
- Make it Vegan: Swap out the heavy cream for coconut cream and use plant-based eggs to keep it vegan-friendly.
- High-Protein Twist: Mix in some protein powder into your cake batter for an extra boost without sacrificing flavor.
- Gluten-Free Option: Use gluten-free red velvet cake mix if you want a gluten-free version that everyone can enjoy.
- Add Flavor: Experiment by adding spices like cinnamon or vanilla extract into the batter for an extra layer of flavor.
How to Make Red Velvet Molten Lava Cupcakes Recipe
Step 1: Prepare the Ganache
Chop or break up your semi-sweet baking chocolate and place it in a medium-sized bowl. Heat the heavy cream over low heat until it just simmers — this step is key because it helps melt the chocolate smoothly. Pour the hot cream over the chocolate and stir until it’s melted and silky. If it’s stubborn, give it quick bursts in the microwave until fully melted. Chill this mixture in the fridge until it’s hardened, which will take at least 2 hours.
Step 2: Preheat Your Oven
While waiting on your ganache, preheat your oven to 350°F (175°C) and line muffin tins with cupcake liners. This ensures that your cupcakes bake evenly and are easy to remove later.
Step 3: Mix Up the Cake Batter
Grab that box of red velvet cake mix and prepare according to package directions. When you’re filling each liner, be sure to only fill them about halfway. This allows room for that delicious molten center!
Step 4: Add Ganache Centers
Now it’s time for the fun part! Take that chilled ganache out of the fridge and scoop tablespoon-sized balls (a cookie scoop works beautifully) into each cupcake batter center. This little surprise is what makes these cupcakes so special!
Step 5: Bake Away
Pop those filled cupcake liners into your preheated oven and bake for about 20-23 minutes. The trick here is to check doneness by inserting a toothpick into the side of a cupcake rather than directly into the middle; you want clean edges but gooey centers.
Step 6: Let Them Cool
Once baked, allow them to cool in their pans for just a few minutes before gently removing them from their liners.
Step 7: Serve Warm
When ready to serve, flip them upside down onto plates and sprinkle with powdered sugar for that bakery-style finish! These cupcakes are best enjoyed warm — if they cool off too much, just pop them back in the microwave for a few seconds to revive that lovely molten center!
Pro Tips for Making Red Velvet Molten Lava Cupcakes Recipe
These simple tips will help you achieve the perfect molten lava effect and ensure your cupcakes are a hit at any gathering!
-
Use high-quality chocolate: The flavor of the ganache relies heavily on the chocolate you choose. Opting for semi-sweet or dark baking chocolate will give you a richer, more decadent taste.
-
Don’t overfill the cupcake liners: Filling them too full can result in messy cupcakes that spill over. Aim for about 1/2 full to allow space for the ganache and to prevent overflow while baking.
-
Check doneness carefully: Insert your toothpick in the side of the cupcake, not the center. The center should remain gooey, while the sides will bake through — this ensures that delicious molten lava texture!
-
Chill your ganache completely: Allowing enough time for the ganache to harden ensures it holds its shape when baked. If it’s too soft, it may melt away completely during baking.
-
Serve warm for the best experience: These cupcakes are meant to be enjoyed fresh out of the oven or gently reheated. The warm chocolate center is what makes them truly special!
How to Serve Red Velvet Molten Lava Cupcakes Recipe
Presenting your Red Velvet Molten Lava Cupcakes can make them even more enticing! Here are some ideas to enhance their appeal when serving.
Garnishes
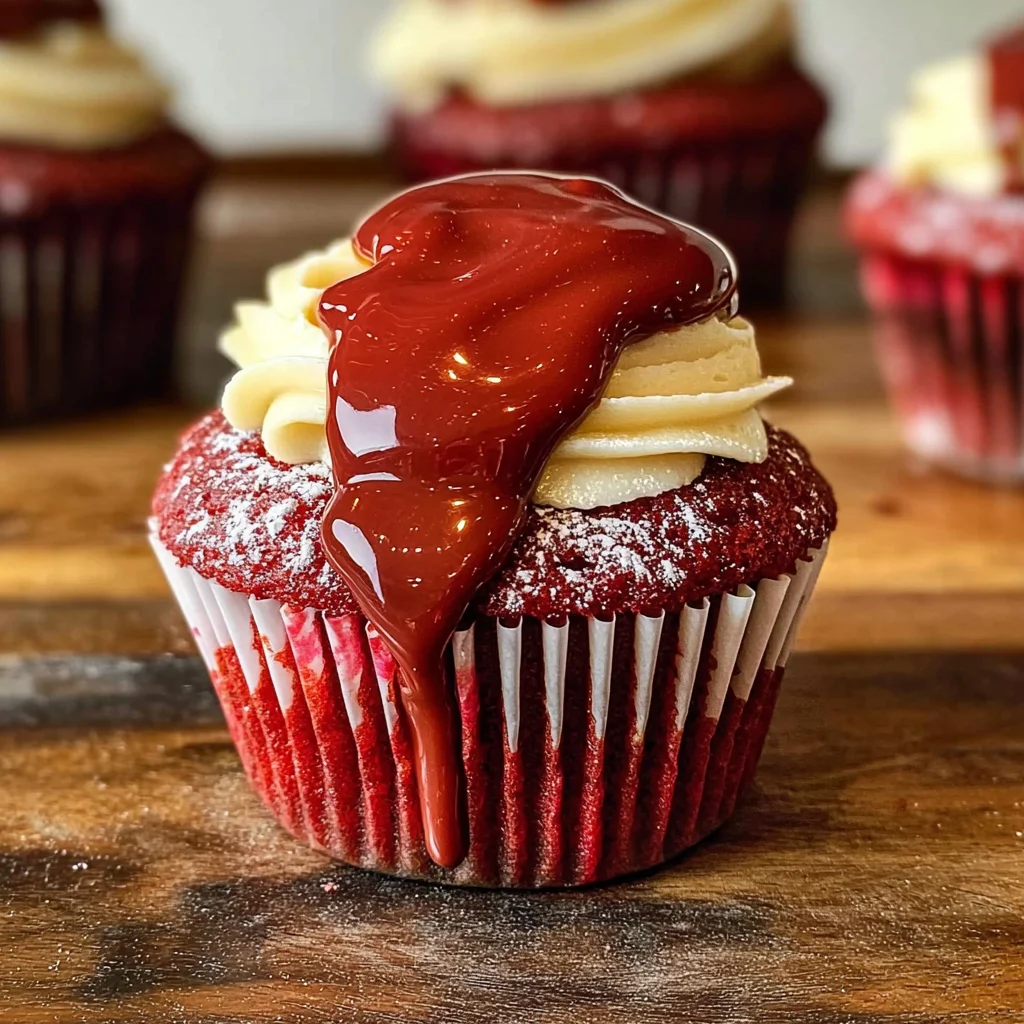
- Powdered sugar dusting: A light sprinkle adds a touch of elegance and sweetness without overwhelming the flavor.
- Fresh berries: Strawberries or raspberries offer a tart contrast that complements the rich chocolate inside.
- Mint leaves: A few mint leaves not only add color but also a refreshing aroma that balances the sweetness.
Side Dishes
- Vanilla ice cream: The classic pairing of warm cupcakes with cold ice cream creates a delightful temperature contrast.
- Whipped coconut cream: For a dairy-free option, this light and airy topping adds a creamy texture without overpowering the dessert.
- Coffee or espresso: A cup of coffee enhances the rich chocolate flavors and provides a comforting finish to your meal.
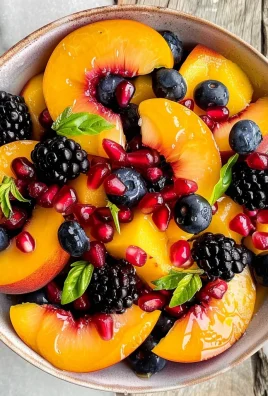
- Fruit salad: A mix of seasonal fruits can cleanse the palate after indulging in these sweet treats, making for a well-rounded dessert experience.
Make Ahead and Storage
These Red Velvet Molten Lava Cupcakes are perfect for meal prep, allowing you to enjoy a delicious dessert whenever the craving strikes.
Storing Leftovers
- Store any leftover cupcakes in an airtight container at room temperature for up to 2 days.
- If you prefer, you can also refrigerate them for up to a week. Just make sure they’re well covered!
Freezing
- To freeze, wrap each cooled cupcake tightly in plastic wrap and place them in a freezer-safe bag.
- They can be frozen for up to 3 months. Be sure to label the bag with the date!
Reheating
- To reheat, simply microwave the cupcakes for about 10-15 seconds until warm.
- If you’re reheating from frozen, let them thaw in the fridge overnight before warming.
FAQs
Can I make these Red Velvet Molten Lava Cupcakes ahead of time?
Absolutely! You can prepare the cupcakes and ganache in advance. Assemble and bake them fresh when you’re ready to serve for that gooey molten center.
What is the best way to store Red Velvet Molten Lava Cupcakes?
Store them in an airtight container at room temperature or refrigerate them if you want them to last longer. Enjoy within a few days for optimal taste!
Can I use a different cake mix for this recipe?
Yes! While this recipe is designed for red velvet cake mix, you can experiment with other flavors like chocolate or vanilla if you’d like.
Final Thoughts
These Red Velvet Molten Lava Cupcakes are not just a treat; they’re an experience that brings warmth and joy with every bite. I hope you have as much fun making them as I did sharing this recipe with you. Enjoy creating these delightful cupcakes, and don’t hesitate to try different variations—you might just find your new favorite dessert!
Red Velvet Molten Lava Cupcakes
Indulge in the irresistible delight of Red Velvet Molten Lava Cupcakes! This easy dessert combines the rich, velvety taste of red velvet cake with a gooey, warm chocolate center that’s sure to impress at any gathering. Perfect for celebrations or a cozy night in, these cupcakes are simple enough for beginners while still delivering a show-stopping presentation. With their vibrant color and luscious texture, they’ll quickly become a family favorite. Follow this straightforward recipe to create an unforgettable treat that balances elegance and comfort in every bite.
- Prep Time: 15 minutes
- Cook Time: 23 minutes
- Total Time: 38 minutes
- Yield: Approximately 12 servings 1x
- Category: Dessert
- Method: Baking
- Cuisine: American
Ingredients
- 1 approximately 15 ounce box red velvet cake mix (plus eggs, water, and oil as directed)
- 8 ounces semi-sweet baking chocolate
- ½ cup heavy cream
- Powdered sugar (for garnish)
Instructions
- Prepare the ganache by heating heavy cream until simmering. Pour over chopped chocolate and stir until smooth. Chill until firm (at least 2 hours).
- Preheat the oven to 350°F (175°C) and line muffin tins with cupcake liners.
- Prepare red velvet cake mix according to package directions; fill liners halfway.
- Scoop tablespoon-sized balls of ganache into the center of each cupcake batter.
- Bake for 20-23 minutes, checking doneness from the side with a toothpick for gooey centers.
- Allow cooling briefly before removing from liners.
- Serve warm with powdered sugar dusting.
Nutrition
- Serving Size: 1 serving
- Calories: 320
- Sugar: 22g
- Sodium: 200mg
- Fat: 18g
- Saturated Fat: 10g
- Unsaturated Fat: 8g
- Trans Fat: 0g
- Carbohydrates: 36g
- Fiber: 1g
- Protein: 4g
- Cholesterol: 50mg


Leave a Comment