If you’re looking for a dish that brings the flavors of sushi into a cozy, family-style meal, then my Salmon Sushi Bake is just the ticket! This recipe captures the essence of a California roll but in a way that’s totally approachable and fun to make. Whether it’s a busy weeknight or a gathering with friends, this dish will be the star of your table. Plus, it’s so easy to prepare that even those who are new to cooking can impress their loved ones!
The best part? You get all the deliciousness of sushi without needing to roll anything. Just layer, bake, and enjoy!
Why You’ll Love This Recipe
- Quick Prep: With just 15 minutes of prep time, you can have this dish in the oven before you know it!
- Family-Friendly: Everyone loves a tasty casserole, and this one is sure to please even picky eaters.
- Make-Ahead Option: Prepare it in advance and pop it in the oven when you’re ready to eat; perfect for busy evenings!
- Flavorful Layers: The combination of salmon, crab meat, and creamy sauces creates a rich flavor profile that’s simply irresistible.
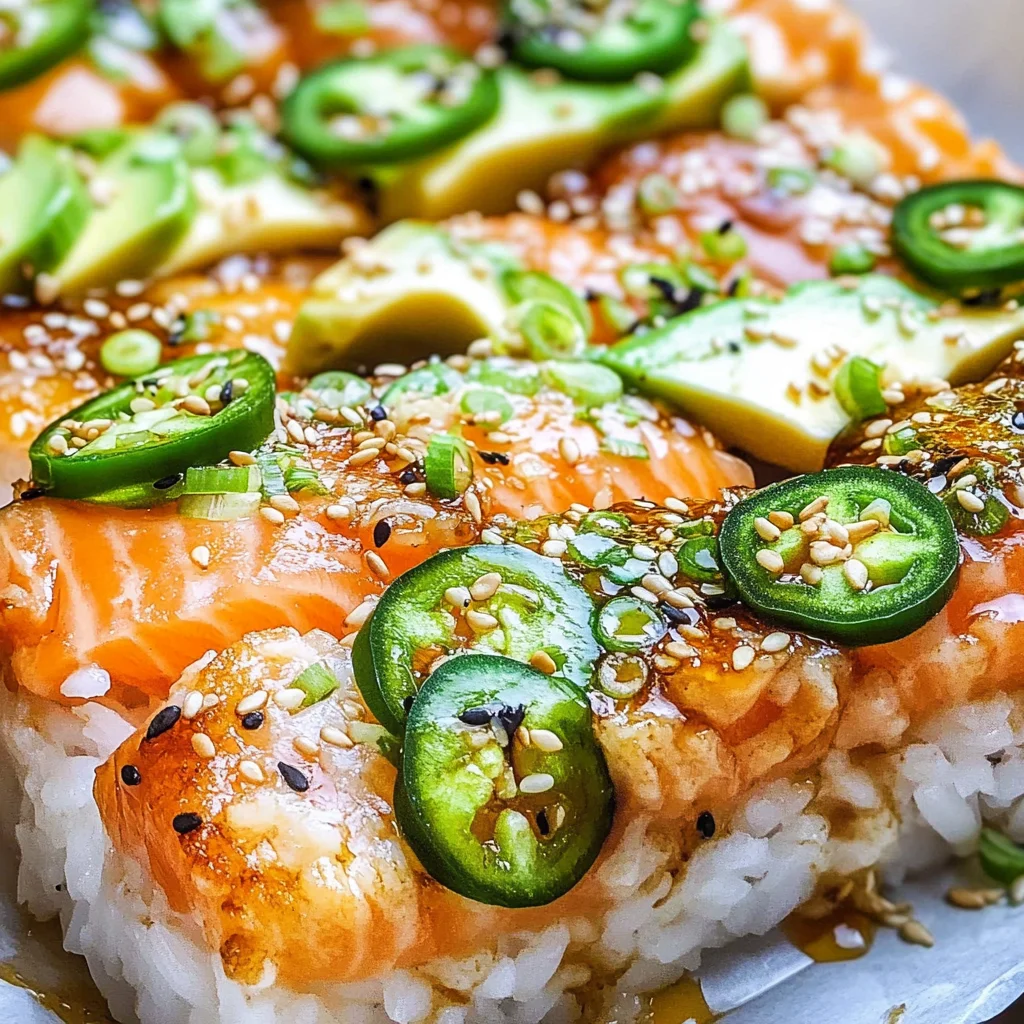
Ingredients You’ll Need
You won’t believe how simple and wholesome these ingredients are! Each one adds its own touch to this delightful dish. Here’s what you’ll need:
For the Base
- 1 ½ cups sushi rice (rinsed well until the water runs clear)
- 2 cups water
- ¼ cup rice vinegar
- 2 tablespoons sugar
- 1 teaspoon kosher salt
For the Topping
- 8 ounces salmon filet (skin removed and sliced into ½ pieces)
- 12 ounces canned crab meat (drained well, 2 (6 oz) cans)
- ⅓ cup Kewpie mayo
- 3 ounces cream cheese (at room temp)
- 2 tablespoons hot sauce or Sriracha
- 2 tablespoons low-sodium soy sauce or coconut aminos liquid
For Garnishing
- 4 green onions (thinly sliced)
- ¼ cup low-sodium soy sauce or coconut aminos liquid
- ¼ cup mirin
- 2 tablespoons rice vinegar
- 1 tablespoon sugar
- 2 tablespoons hot sauce or Sriracha
- 1 hass avocado (thinly sliced)
- Sesame seeds
- Jalapeno (thinly sliced)
- Cucumber (thinly sliced)
- Nori sheets snack (cut into small squares to serve)
Variations
One of the best things about Salmon Sushi Bake is its versatility! Feel free to get creative with these variations:
- Swap the protein: Use cooked shrimp or tofu for a different twist.
- Add more veggies: Toss in some diced bell peppers or shredded carrots for added crunch.
- Change up the sauce: Try using spicy mayo or teriyaki sauce for an extra kick.
- Make it spicy: Add more jalapeños or use spicy crab meat for those who love heat.
How to Make Salmon Sushi Bake
Step 1: Cook the Rice
Start by cooking your sushi rice according to package instructions. Rinsing it until the water runs clear is key; this removes excess starch and ensures fluffy grains. Once cooked, mix in rice vinegar, sugar, and salt while it’s still warm. This step brings out that classic sushi flavor!
Step 2: Prepare the Topping Mixture
In a separate bowl, combine your salmon pieces with crab meat, Kewpie mayo, cream cheese, hot sauce, and soy sauce. Mix gently but thoroughly; this creamy mixture is what makes each bite so satisfying!
Step 3: Layer It Up
Spread half of your rice evenly at the bottom of a baking dish. Then layer on your seafood topping mixture. Finally, add another layer of rice on top. This layering technique allows all those wonderful flavors to meld together while baking.
Step 4: Bake Away!
Preheat your oven to 350°F (175°C), then bake your creation for about 30-40 minutes until it’s bubbly and golden on top. The aroma will fill your kitchen—trust me; it’s heavenly!
Step 5: Garnish and Serve
Once out of the oven, let it cool for just a moment before garnishing with green onions, avocado slices, sesame seeds, jalapeños, and cucumbers. Serve with nori sheets for wrapping—your guests will love customizing their bites!
Now gather around the table and enjoy this warm-hearted dish with family and friends!
Pro Tips for Making Salmon Sushi Bake
Making Salmon Sushi Bake can be a breeze with just a few handy tips to keep in mind!
-
Use Fresh Ingredients: The taste of your dish will be significantly improved if you use fresh salmon and high-quality crab meat. Fresh ingredients enhance the overall flavor and texture, making each bite delightful.
-
Rinse the Rice Thoroughly: Rinsing the sushi rice until the water runs clear removes excess starch, which helps prevent your sushi bake from becoming gummy. This step ensures that your rice is fluffy and has that perfect sushi texture.
-
Adjust the Spice Level: If you’re sensitive to heat, feel free to adjust the amount of hot sauce or Sriracha to suit your taste. This allows everyone at your table to enjoy the flavors without feeling overwhelmed by spice.
-
Let It Cool Slightly Before Serving: Allowing your sushi bake to cool for about 5-10 minutes after baking enhances its flavor and makes it easier to slice into portions. This waiting period also helps the layered ingredients meld together beautifully.
-
Experiment with Toppings: Don’t hesitate to add additional toppings like seaweed salad or pickled vegetables. These can elevate your dish and add different textures and flavors that complement the main components.
How to Serve Salmon Sushi Bake
Presenting your Salmon Sushi Bake can be as fun as making it! With a few creative ideas, you can turn a simple dish into an extraordinary meal experience.
Garnishes
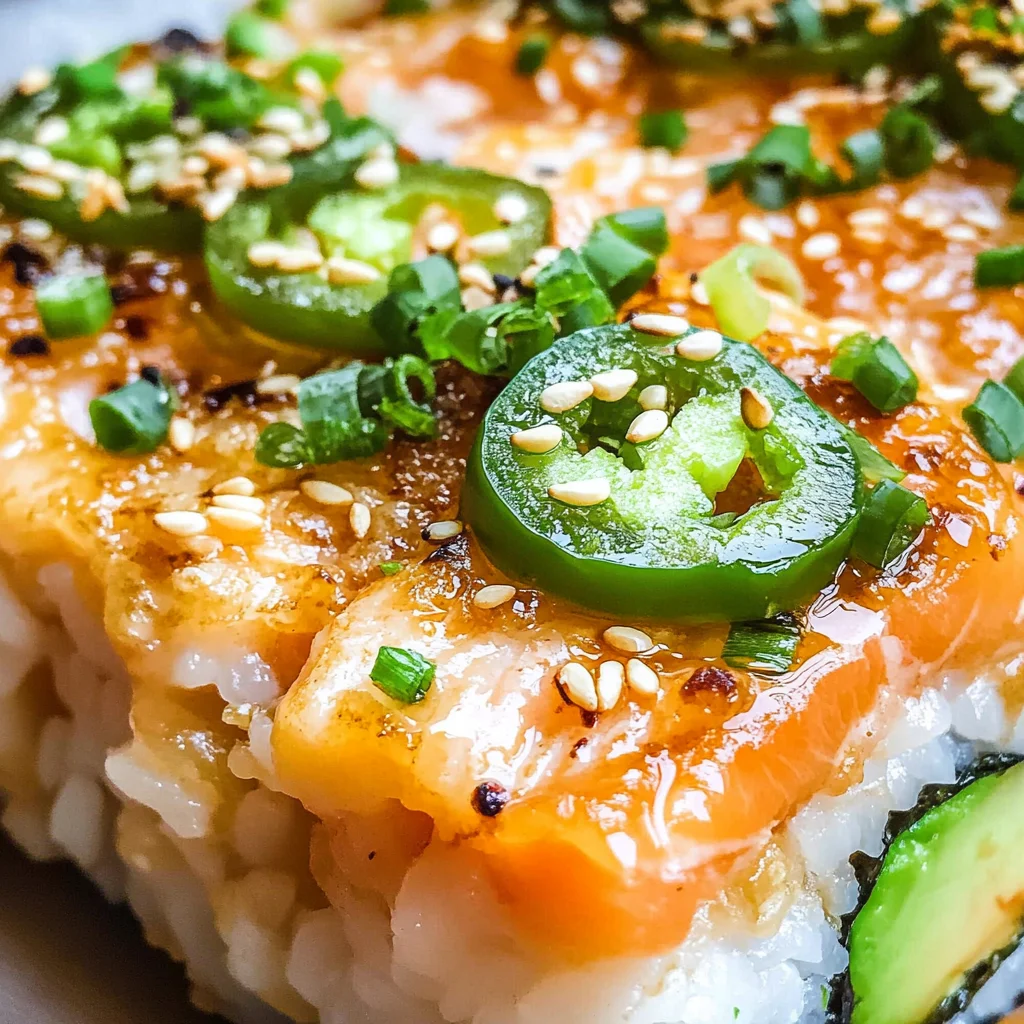
- Sliced Avocado: Adding thin slices of fresh avocado on top not only enhances the visual appeal but also adds a creamy texture that balances the flavors perfectly.
- Sesame Seeds: A sprinkle of toasted sesame seeds provides a delightful crunch and nutty flavor, giving your dish an elegant touch.
- Thinly Sliced Jalapeños: For those who enjoy some extra heat, jalapeños make a vibrant garnish that adds both color and spice.
Side Dishes
- Edamame: These lightly salted soybeans are not only nutritious but also provide a satisfying crunch that complements the creamy sushi bake.
- Seaweed Salad: This refreshing salad is packed with umami flavors and adds an interesting contrast in texture while enhancing the Asian theme of your meal.
- Cucumber Salad: A simple salad made with thinly sliced cucumbers dressed in rice vinegar brings a refreshing element that cuts through the richness of the bake.
- Miso Soup: A warm bowl of miso soup pairs wonderfully with this dish, adding warmth and depth that rounds out your meal beautifully.
Enjoy creating this delicious Salmon Sushi Bake, and let it bring joy and smiles around your dinner table!
Make Ahead and Storage
One of the best things about Salmon Sushi Bake is how perfect it is for meal prep! You can prepare it in advance, making weeknight dinners or lunch planning a breeze.
Storing Leftovers
- Allow the Salmon Sushi Bake to cool completely before storing.
- Transfer leftovers to an airtight container.
- Keep in the refrigerator for up to 3 days.
Freezing
- Cool the dish entirely, then cut into individual portions.
- Wrap each portion tightly in plastic wrap and place in a freezer-safe container.
- Freeze for up to 2 months for the best quality.
Reheating
- Thaw frozen portions overnight in the refrigerator before reheating.
- Preheat your oven to 350°F (175°C) and bake for about 15-20 minutes until heated through.
- Alternatively, microwave on medium power for 1-2 minutes, checking frequently until warm.
FAQs
Here are some common questions about making Salmon Sushi Bake:
Can I use different types of fish in my Salmon Sushi Bake?
Absolutely! While salmon is delicious, you can substitute with other types of fish like tuna or even cooked shrimp. Just make sure they’re fresh and safe to eat!
How do I serve Salmon Sushi Bake?
Salmon Sushi Bake is typically served warm. Scoop a portion onto a plate, add toppings like avocado or cucumber, and enjoy it with crispy nori sheets!
What is the best way to store leftover Salmon Sushi Bake?
For optimal freshness, store leftover Salmon Sushi Bake in an airtight container in the refrigerator. It should last up to three days without losing flavor!
Can I make this Salmon Sushi Bake ahead of time?
Yes! You can prepare it ahead of time and store it in the fridge before baking. It’s great for meal prepping and saves you time during busy weekdays.
Can I adjust the spice level in this recipe?
Certainly! If you prefer a milder flavor, reduce the amount of hot sauce or Sriracha used. You can always add more heat later if desired!
Final Thoughts
I hope you find this Salmon Sushi Bake as delightful as I do! It’s a wonderful blend of flavors that brings all the joy of sushi without any complicated techniques. Whether you’re sharing it with family or enjoying it solo, it’s sure to make your meal special. Enjoy making this recipe, and don’t hesitate to get creative with your toppings! Happy cooking!
Salmon Sushi Bake

If you’re craving the delightful flavors of sushi but want a more approachable, family-friendly dish, this Salmon Sushi Bake is your answer! This baked casserole captures the essence of a classic California roll while allowing you to enjoy all the deliciousness without the fuss of rolling. Perfect for busy weeknights or gatherings with friends, this easy-to-make dish will be the star of your table. With layers of flavorful salmon and crab meat combined with creamy sauces, it’s a hearty meal that’s sure to please even the pickiest eaters. Gather around and enjoy this warm, comforting dish that’s as fun to prepare as it is to eat!
- Prep Time: 15 minutes
- Cook Time: 40 minutes
- Total Time: 55 minutes
- Yield: Serves approximately 8
- Category: Main
- Method: Baking
- Cuisine: American
Ingredients
- 1 ½ cups sushi rice
- 2 cups water
- ¼ cup rice vinegar
- 2 tablespoons sugar
- 1 teaspoon kosher salt
- 8 ounces salmon filet
- 12 ounces canned crab meat
- ⅓ cup Kewpie mayo
- 3 ounces cream cheese
- 2 tablespoons hot sauce or Sriracha
- 2 tablespoons low-sodium soy sauce or coconut aminos liquid
- 4 green onions
- 1 hass avocado
- Sesame seeds
- Jalapeno
- Cucumber
- Nori sheets snack
Instructions
- Preheat your oven to 350°F (175°C).
- Rinse sushi rice until water runs clear, then cook according to package instructions. Mix in rice vinegar, sugar, and salt while warm.
- In a bowl, combine salmon, crab meat, Kewpie mayo, cream cheese, hot sauce, and soy sauce.
- Layer half of the rice in a baking dish, followed by the seafood mixture and top with remaining rice.
- Bake for 30-40 minutes until bubbly and golden.
- Garnish with green onions and serve with nori sheets for wrapping.
Nutrition
- Serving Size: 1 slice (approx. 200g)
- Calories: 320
- Sugar: 4g
- Sodium: 550mg
- Fat: 15g
- Saturated Fat: 5g
- Unsaturated Fat: 10g
- Trans Fat: 0g
- Carbohydrates: 35g
- Fiber: 2g
- Protein: 18g
- Cholesterol: 50mg


Leave a Comment